Get ideas & inspirations delivered to your inbox. You won't want to miss a thing, so subscribe free to the Blog Feed or sign up for Free Email Updates on the latest projects, shop news, blog tutorials & more. Check out the Project Gallery, Garden, Recipes & Inspirations tabs above, to see what you have missed. Browse through the sidebar for this week's Popular Posts!
**Please note: Some links may be broken, if this happens, please let me know which post & search for the title of a post on the search tab on the right while I work on fixing the problem.---->

How to Make a Large Wood Chalkboard

DIY chalkboard
I finally have my large chalkboard!  It took a while, because I originally wanted the board to be magnetic.  I could not find a piece large enough to serve as the magnet board.  I'm sure they are out there somewhere, but I just got tired of looking, so I used wood for the board.  I will eventually get my magnetic board, but in the mean time, this will do.

I've posted before on how to make your own chalkboard using old art work.  Today I am posting on how to make your chalkboard from scratch using wood.
 
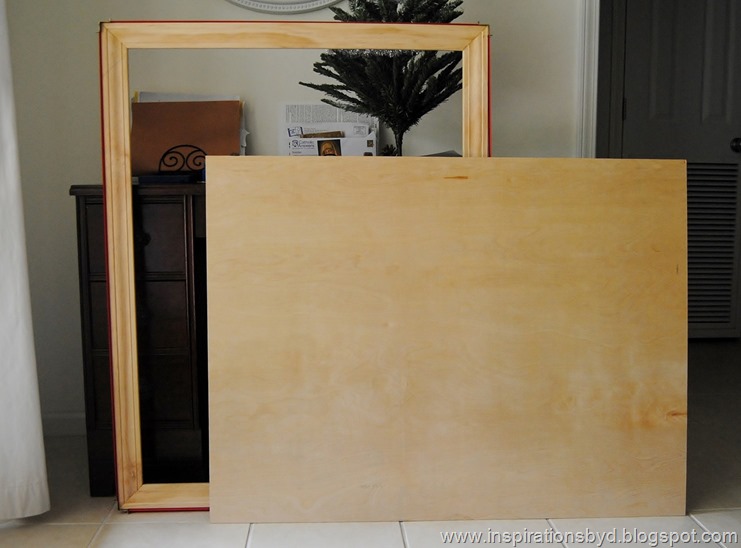
We used molding from the hardware store for the frame.
We cut the molding at the corners at an angle as seen below. 
We glued it with wood glue and nailed them together.  The red strap was used to hold it in place while the glue dried.
When it was dried, I stained it lightly with oak wood stain.
 
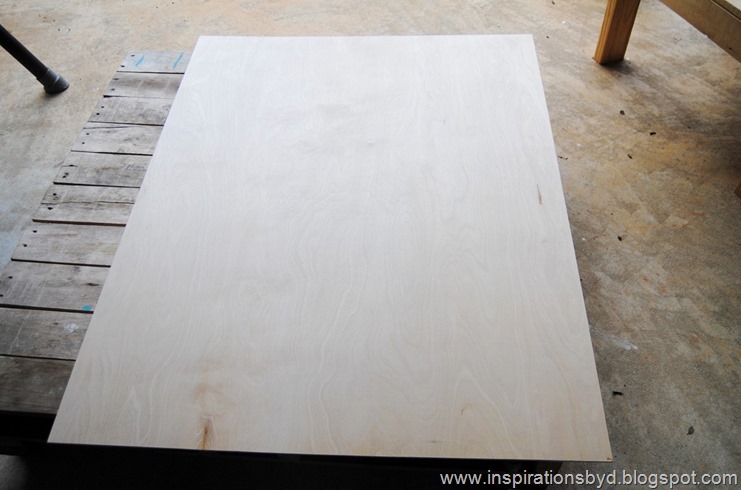
The molding is 3 feet by 4 feet as well as the board. 
I sanded the board a bit to smooth it out.
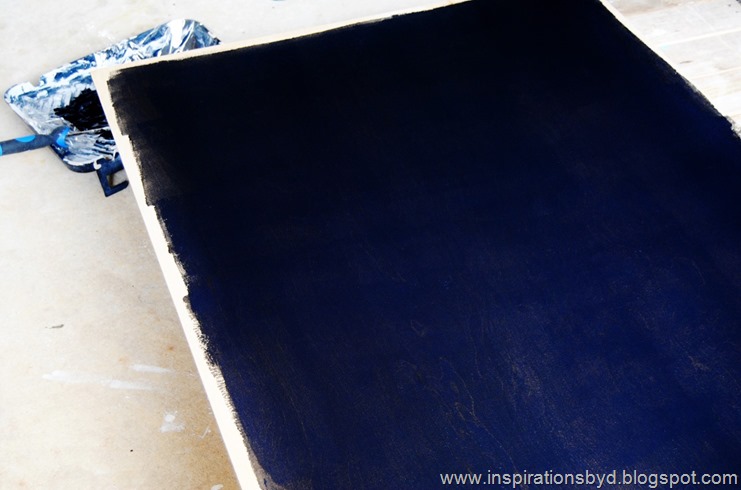
Then the board was painted with chalkboard paint using two coats.  When the paint dried, we nailed the board to the frame.
On the back we attached picture frame hardware in order to hang it on the wall and that was it. Now I can use it to write schedules for the family and help them keep organized.  I hope that you enjoyed and Happy crafting!

DSC_1806DSC_1814DSC_1820DSC_1826DSC_1823chalkDSC_1824 (2)

Sale at Inspirations by D


Hello friends!  Just popping in to let you know that my little shop will close for the Holidays on December 21st which is this Saturday.  The shop will re-open again after the wonderful season is over.  We will see you again in 2014, so be sure to subscribe to the blog to know of the re-opening or sign up in the shop to get informed.
  
Any who, if you need some last minute stocking stuffers or gifts, now is the time.  Drop by the Inspirations by D shop now, we currently have imported handmade vintage items from Poland and Czech Republic, get 10% off every item in the shop with the code provided above. Come and check it out!

Christmas Home 2013


xmastree


xmastree (3)


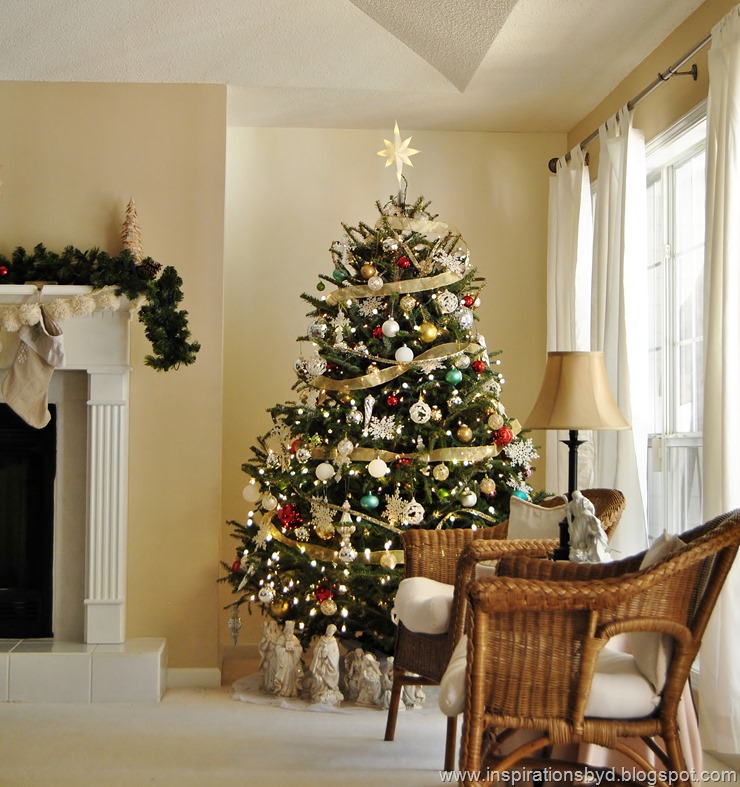
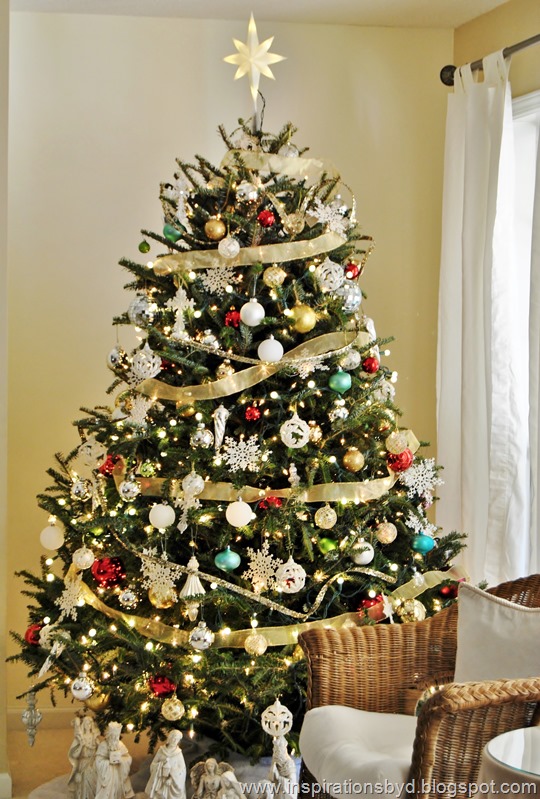
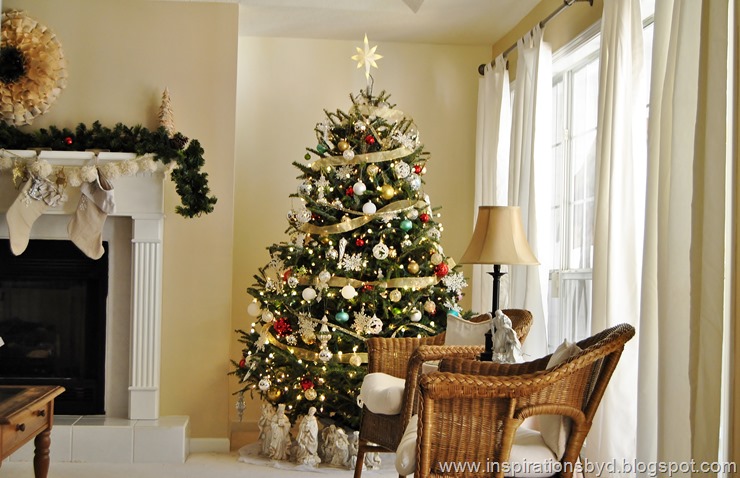
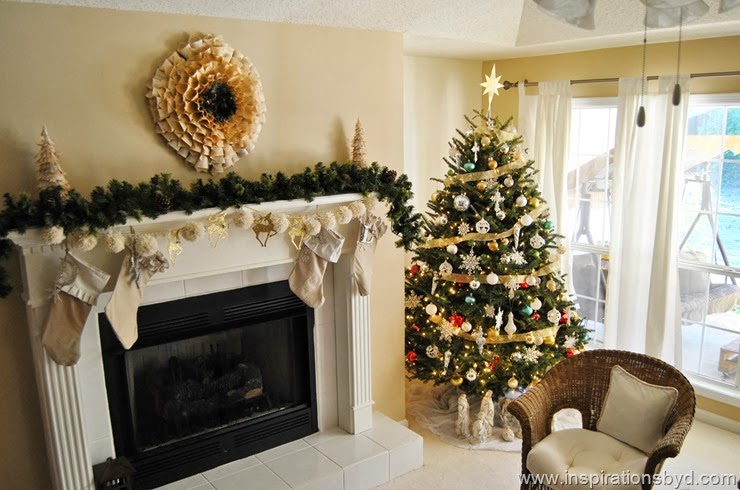
I have been trying to make our home look a little festive this year since my focus has been on other things.  I am sharing my living room & dining room space with you today which is pretty much what I have decorated around the house.


xmastree (2)


I used decor from years past, handmade and purchased ornaments are combined in this year's Christmas decoration.


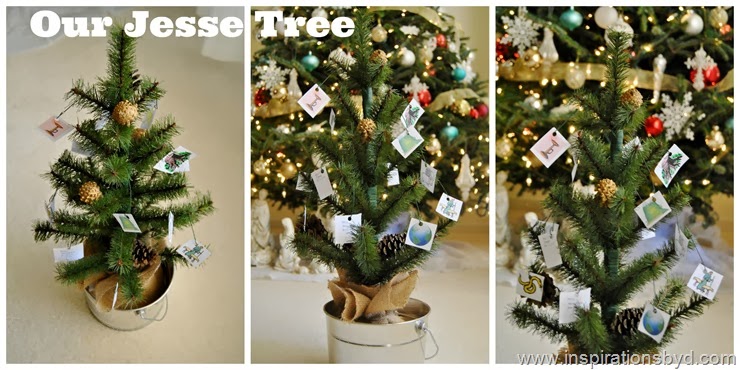
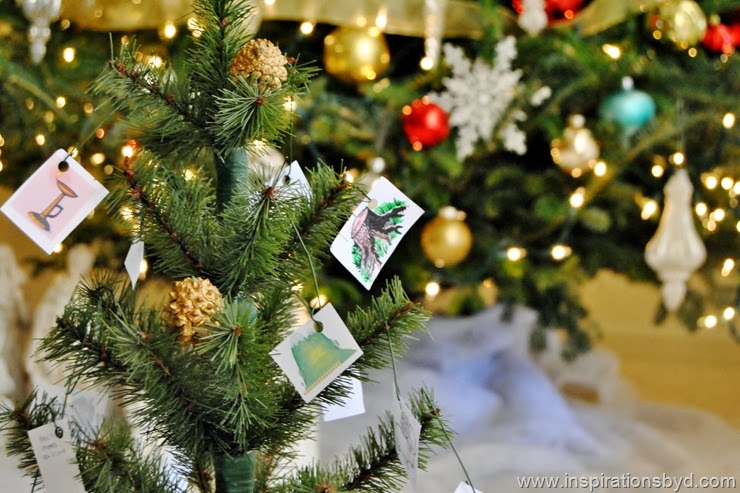
We did not put up an Advent calendar, but instead, a Jesse Tree.  Are you familiar with the Jesse tree?  It is fun and educational for both children and adults.  The Tree of Jesse is a depiction in art of the ancestors of Christ.  My son loves it and looks forward to each day's scripture reading and devotion.  I made my own Jesse tree ornaments by printing out the symbols for each day's reading. We cut the paper out and added ornament hooks to hang on the little tree I got last year.


Depictions of the Jesse Tree are based on a passage from the Book of Isaiah.


"A shoot shall come out from the stump of Jesse, and a branch shall grow out of his roots."


Isaiah 11:1    NRSVjesse tree


DSC_1879


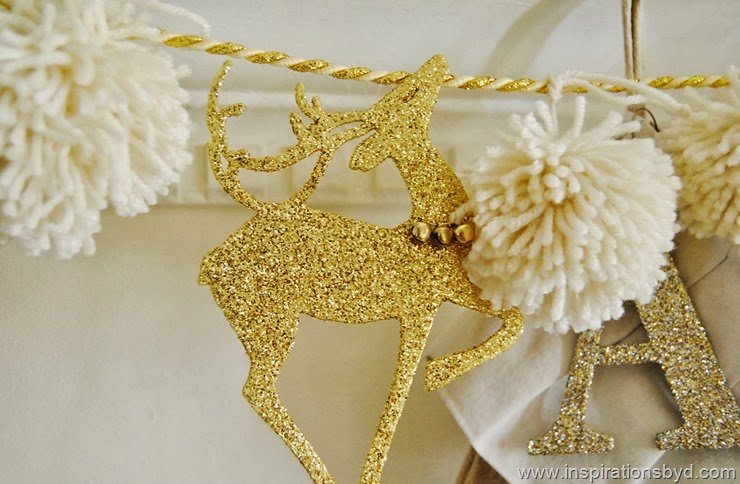
On my last post I showed you how I made my pom pom garland.  I used the garland to decorate the mantel, I added reindeer ornaments instead of regular ball ornaments for a different look and I like how it turned out.  You can basically add whatever you like to the pom pom garland for extra flare.  I placed the book page trees from last year on the mantel and added the stockings that I made last year as well.  You can find the tutorial for the stockings on this post.


Further down, I added a photo of the living room during the decorating process, the tree does not have a garland yet and my mantel was somewhat bare at the time.


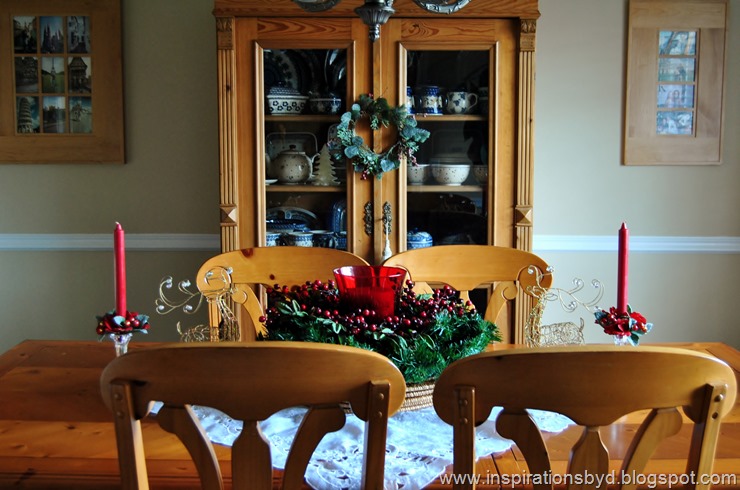
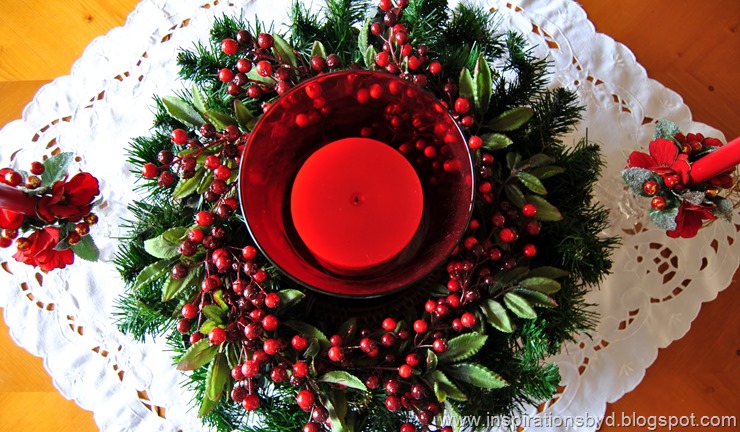
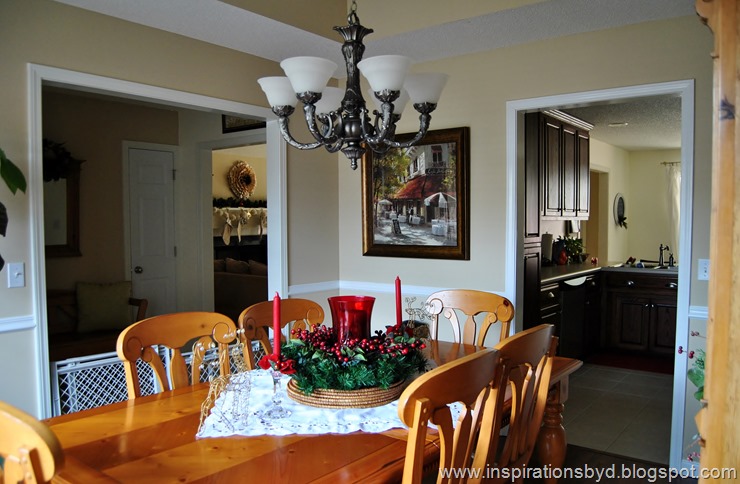
For the dining room, I added a wreath with a layer of berries and a red vase that serves as a hurricane candle holder as the center piece.  To each side I added a gold wire reindeer and red candles.  Off to the side, I also placed my advent candles, but did not photograph it this year.


DSC_1889


dining (4)dining (7)


dining (3)


DSC_1893


Thank you for joining me today on this tiny tour.

Linked to:


DIY: Pom Pom Garland

I've been meaning to post this since last year, but I did not have the opportunity to until now. The days have been dark and gloomy and in order to have good photos, you need good lighting. I finally decided, light or no light, I have to post it, because it's popping up everywhere. So my apologies for not having great images, but you get the idea on what the garland looks like.

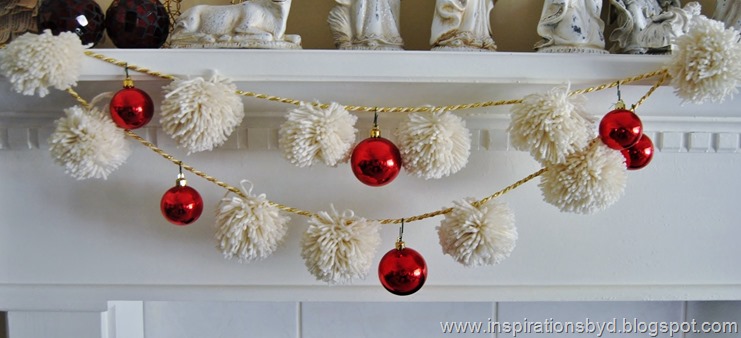
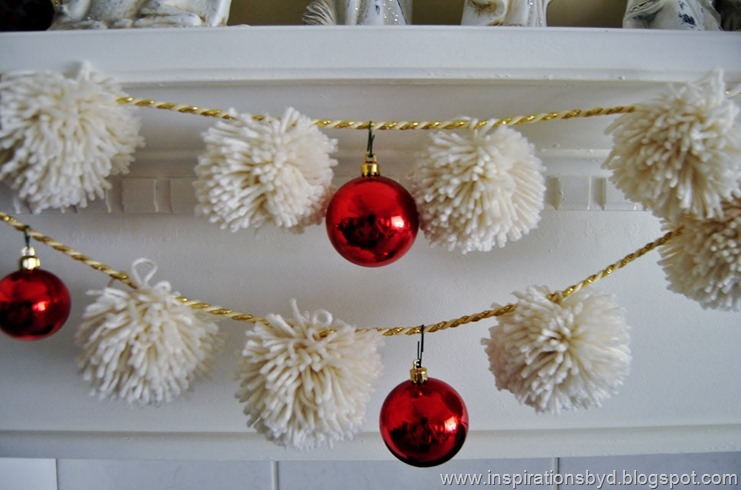
Do you remember this post?  I showed you how to make Pom Pom Ornaments for your tree.  This year I used my pom pom ornaments to create a garland.  I made one last year, but never got around to posting it until now.  This is pretty simple to make, all you need to know is how to make a pom pom, and you can read the directions on here.

You can use yarn or some kind of string to hold your pom poms once they are done making the amount you want.  Tie each pom pom to the string to hold them tightly.  Keep the poms poms about 6 to 8 inches apart.  For extra flare you may add ornaments as seen here. You can place the ornaments between the pom poms, then hang them anywhere.

I made two sets of pom pom garlands, a small one and a large one.  The one seen on this post is the large one. Use them anywhere, mantels, trees, and over doors, the choice is yours.  I also used reindeer ornaments for my pom pom garland and you can view that one here.

I hope that you enjoy & Happy Crafting!
pom pom
pom pom
pom pom garland
pom pom garland


Holiday To Go...

This post brought to you by Piccadilly Restaurants. All opinions are 100% mine.


What are my favorite aspects of family Holiday gatherings?  That is a question I have been pondering for the last hour.  For me, it's more than just gathering, it's more than watching the little ones enjoy themselves with games and gifts, it's more than catching up with loved ones..."it's that moment".

Have you ever sat down with your family and friends at the table and just savor the moment?  
I stop and watch everyone exchange conversation, laughs and share stories and I freeze it in my memory.  Why?  I don't want to miss it, I want to capture an image, a recording if you will, in my mind and I take that moment and savor it.  I give thanks for all my blessings, I have people who love us, who are spending their time with us, and I am so grateful for them all. So back to the original question, I think my favorite aspect is "that moment" well spent with loved ones with good food and joy, because I get so busy preparing and making sure everything is done right, I miss those moments, until I have the opportunity to sit down and enjoy it.

Over the years, I have hosted dinners for friends and family, not always the best in my part because of the stress or hassle of preparing the right meals and hoping that everything will come out right.  The only person I know that does a phenomenal job in preparing for large gatherings is my mom.  She is the queen of entertaining with food.

As for me, if I had an oven like the Jetson's, where I press a button and dinner is served fresh and immediately, that would be heavenly.  I'm still waiting for that invention, ha, ha!   So the next best thing for me is to go to a source I can trust for flavor and good preparation.  This is where Piccadilly's Holiday To-Go Feasts comes in.  Have you heard of them?   Piccadilly Restaurants offer Holiday Feasts To-Go for Thanksgiving and Christmas with your choice of turkey or ham and all the trimmings.  Each feast serves 10-14 guests and for a smaller gathering, Piccadilly's Junior Holiday Feasts can accommodate 4-6 people.  All of Piccadilly's home style favorites and desserts are available a la carte, so whether you want the whole meal, just sides or dessert, they've got you covered.

Holiday Feasts To Go orders must be placed a at least 36 hours in advance of pick up date.  Turkey and Ham Holiday feasts are fully cooked, refrigerated and ready to heat.  Doesn't that sound great?  What a sweet idea to have someone else prepare your feast while you enjoy family and friends and put all the worries aside for once, to enjoy the true meaning of the Season!

To give you an idea of what Piccadilly restaurants are about here's a brief background; Piccadilly Cafeteria first opened in 1932 in Baton Rouge, Louisiana.  Twelve years later, a budding restaurateur by the name of T.H. Hamilton took the reins with hopes of growing the business.  Today, they have more than 60 restaurants and 80 food service locations all across the southeast.
Since day one, their goal has been to serve up home style comfort to every person who walks through their door.  Their restaurants are family friendly and everyone can find something they love to eat.  Some favorites are fried chicken, carrot soufflé  and their desserts.

Piccadilly gift cards are also available tied to a special Holiday savings offer.  For every $50 spent on gift cards now through December 31, 2013 a $10 savings card will be issued which can be used towards a Piccadilly purchase from January - January 31, 2014 at participating restaurants.
Let's be social and follow @EatPiccadilly on Twitter and like Piccadilly Restaurants on Facebook to get specials and more online.  Do you have a Piccadilly in your area?
Visit Sponsor's Site

Christmas Tree Farm & Our Tree

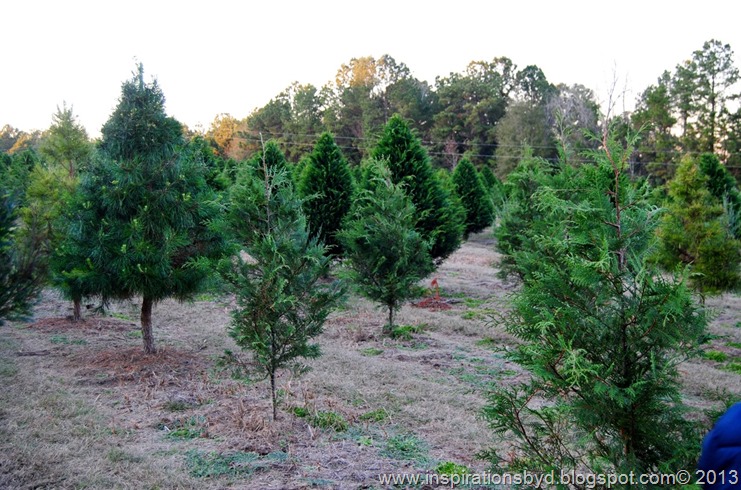
DSC_1804Hello friends!  Before continuing, I want to warn you, this post is filled with lots of green.  We were out and about searching for our perfect tree after Thanksgiving.  Our faux tree fell apart last year, so we needed a new one for this year.

Do you remember our first real tree three years ago?  Well, we drove back to that tree farm to find a similar tree, not so much for it's appearance, but for it's memorable fragrance.  I know, I'm weird, but the house smelled amazing that Christmas Season, and so we were on a mission to find one just like it.
DSC_1807Thankfully, this year they didn't paint any of the trees, it was pleasant to see the trees in their natural state, and we searched.  They did not have any of the Blue Cypress Pine that we wanted. The Blue Cypress they had were still too premature and the trees they did have do not hold ornaments well.  After searching almost the entire farm, we decided to look somewhere else.  It was fun as we hunted for our perfect tree.  We looked high and low and it was getting dark.

DSC_1818Finally we dropped by our local hardware store; and that is where we found our tree.  Mr. M was not impressed, but we managed to find one we liked and it is filled with fragrance.  Unfortunately, my new garland was not long enough, and I was not able to use it for this tree, I knew I should have purchased two from LMM.  While placing the ornaments on the tree, my son told me to add more.  I originally planned for silver, white and gold...
DSC_1828But I finished with all the colors I had in the box.  I have not decorated with lots of colors before, nor with so many ornaments, so this was different for me and I'm still getting used to it.  So there you have it, our Christmas tree.  I am using last years handmade ornaments for a different purpose this year, which I'll post later on.  I have not made much effort this year in decorating my home, my focus has been on preparing my heart to receive Him this Christmas, so Christmas home decor is a process right now.  Thank you for visiting today!
xmastree (3)


Linked to:
The Dedicated House
Dwellings
Craft-O-Maniac
I Should be Mopping the Floor
DIY ShowOff


Pin It button on image hover