Get ideas & inspirations delivered to your inbox. You won't want to miss a thing, so subscribe free to the Blog Feed or sign up for Free Email Updates on the latest projects, shop news, blog tutorials & more. Check out the Project Gallery, Garden, Recipes & Inspirations tabs above, to see what you have missed. Browse through the sidebar for this week's Popular Posts!
**Please note: Some links may be broken, if this happens, please let me know which post & search for the title of a post on the search tab on the right while I work on fixing the problem.---->

Four Steps to Age New Pine

antiquepine
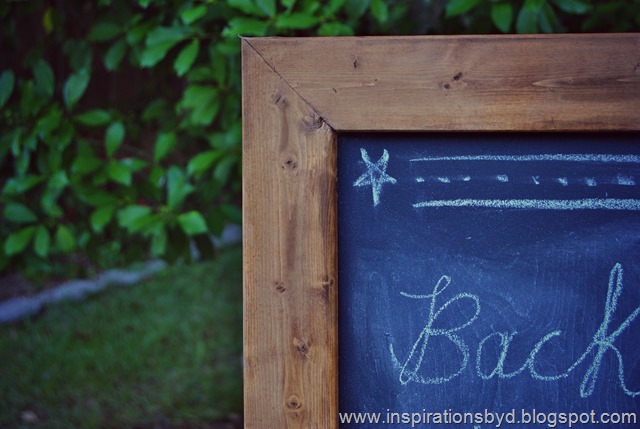
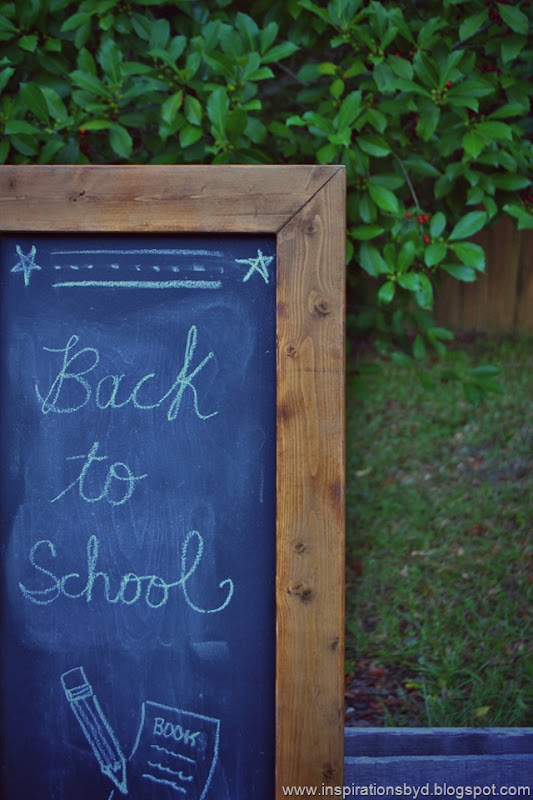
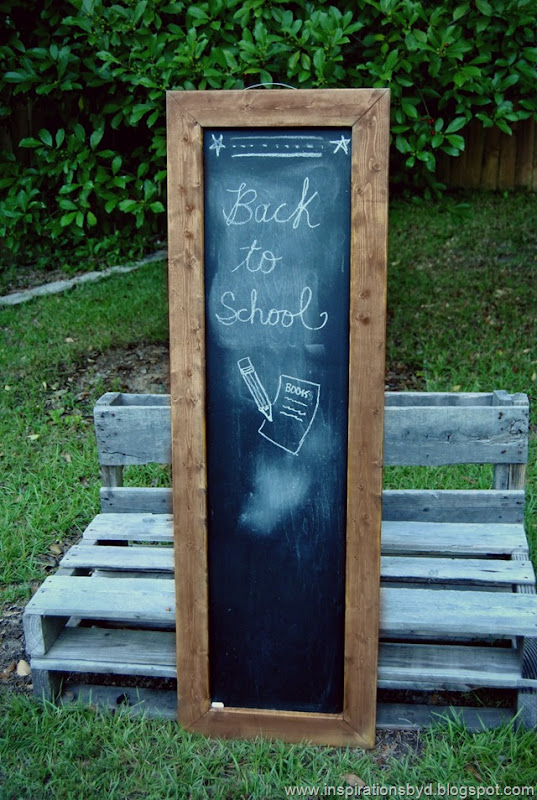
My new favorite item is the skinny chalkboard.  A couple of weeks ago I made a
Skinny Chalkboard, and featured it on this post.  I used a light stain on it,
but I was not completely satisfied with the color.
I wanted the frame to match my antique pine furniture,
so I had to make it look a bit old.  In my local hardware store they did not have
the stain I was looking for.  I decided to use a mix of colors to achieve the shade
I wanted for my frame.

There are several methods that you can use to get an aged wood look,
but that depends on what you are aiming for. I knew what I wanted and I went for it.

In order to remove the previous stain, I had the frame sanded.
After the frame had been sanded, I cleaned up any dust left behind.
The pine was back to it's original bare state.  To achieve the old look I
wanted, I did the following four steps:

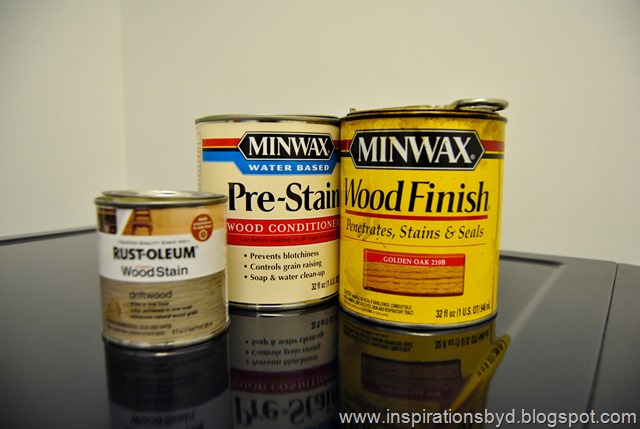
Step 1. I used a pre-stain to condition the wood.  This helps prevent blotching. Follow instructions on the can.

Step 2. I used a driftwood stain next.  The driftwood stain is almost grey in color, so I rubbed it thin on the frame and wiped the excess off.

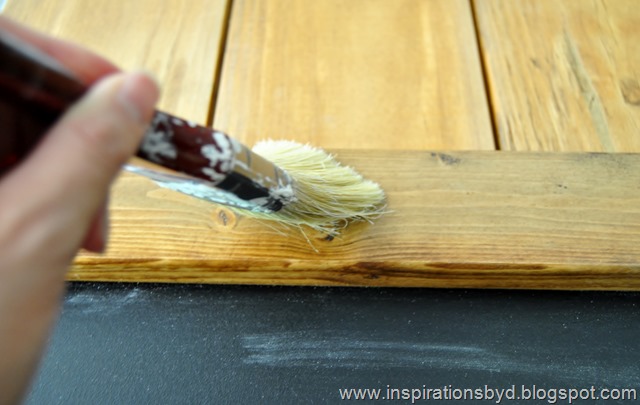
Step 3. Next, I gave it a semi-thick coat of the golden oak stain and let it dry completely.

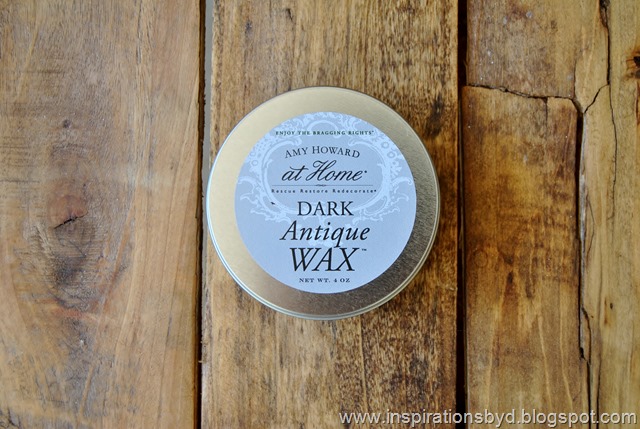
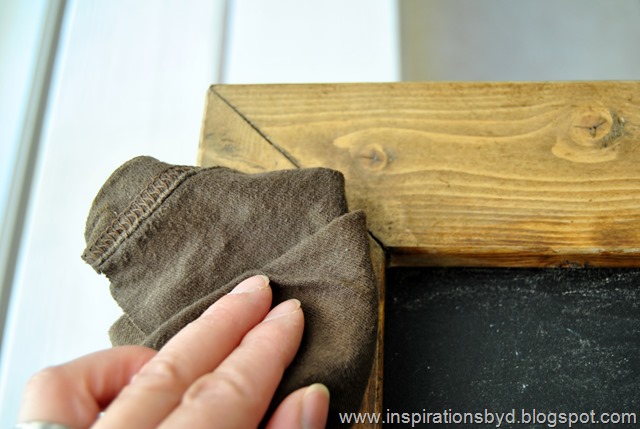
Step 4. When the stain was completely dry, I rubbed on a dark wax. I waxed it on and waxed off excess wax leaving the wood looking darker and aged.

I love the new color on the frame, it matches the furniture perfectly.
Thank you for joining me today and hope that you were inspired.
www.inspirationsbyd.blogspot.com
www.inspirationsbyd.blogspot.comwww.inspirationsbyd.blogspot.comwww.inspirationsbyd.blogspot.comwww.inspirationsbyd.blogspot.comwww.inspirationsbyd.blogspot.comwww.inspirationsbyd.blogspot.comwww.inspirationsbyd.blogspot.com
For more ideas visit the Project Gallery tab and Inspirations tab.


A Place for Your Travel Memories

**This post contains affiliate links and I will be compensated if you make a purchase after clicking on my links.
www.inspirationsbyd.blogspot.com
Traveling during the summer is a great time to make memories that you can cherish forever.  A trip to the Grand Canyon, to the lake or the mountains, serves as a canvas for awesome photos.  I remember heading over to the Disney Parks as a child with my family.  My dad could not always make it to our vacations, but we were able to share our adventures with him. We looked over the photos that my mom took of us on our outings and we recollected every moment. Those were the albums of the past and not in the best condition today. You can't bring everyone with you while traveling, but you can share what you loved about a place in a one of a kind travel book.  

This is the summer to create the book and preserve your memories, a custom travel journal documenting your favorite adventures—even to sell and fund your next trip.  Get step-by-step instructions and book ideas from great travel books created with Blurb to help you make a book you'll be proud of.

Are you ready to get started on your travel book? Use promo code AUGUST15 and Save 15% on all purchases now through August 25th.  

Save also 25% on print book orders of $75+ on 1st purchase only, now until August 25th. (New Customers only)  Use code TRYOUT. 


Enjoy creating your book!

Win a Cricut Explore™ (Closed)

*This post contains affiliate links and will be compensated if you make a purchase after clicking my links. 
I'm so excited you guys!  I get to share an opportunity for YOU to win a Cricut Explore; how cool is that?  Have you ever thought to yourself, "Man, if only I didn't have to cut up all this paper/ vinyl/ vellum/ card stock/ chipboard/ aluminum/ leather/ felt/ acetate/ fabric by hand!  I always think of that when I am working on a craft project.  

Here's what you can do for a chance to win one for yourself! Here's what you do! Sign up below to receive the Cricut Newsletter by August 19th, and you'll be automatically entered into a drawing to win a Cricut Explore™! Use your email or login with Facebook and you will automatically sign up for the Cricut newsletter and be entered to win the giveaway.  The Newsletter is filled with tips, crafting ideas and deals on Cricut products. 


ENTER HERE to Sign up!
a Rafflecopter giveaway


In the meantime, get yourself ready to receive that winning Cricut Explore™ and go shopping on Cricut.com. You can get free shipping on all orders of $35 or more, when you use the promo code: FREESHIP35 at checkout. 

Does that sound good to you? It sounds good to me.  So remember to win one of these lovelies, Sign Up for the Cricut Newsletter and Enter to Win a Cricut Explore™ and don't forget FREE Shipping on Cricut Orders of $35+ with code FREESHIP35
Good Luck!


What's Coming to the Shop & Sale!

sale
Hey there friends, I'm stopping by to let you know that I am having a SALE over at the little shop.
Now I know there isn't much right now, but that's the point.  I want to clear every thing out, to make room for the new items.  Ahem, see that banner down there?  It will be posted to the shop and these go pretty fast, so if you want to reserve yours, please let me know ahead of time.

It is decor for the Holidays!  I know, I know...it's July and you're thinking of Holidays?  Well July is almost over ya'll and before you  know it, it'll be Christmas time, so why not get ready?

Remember to subscribe to the blog in order to know when these hit the shop.  I love the uniqueness of these garlands which are made to reflect inspirational words and Christmas songs. You can view a sample here to see how I used it to decorate my tree.

DSC_0644
I also wanted to let you know that I am also selling these lovely rustic candle holders,
among the many things that are going to be sold.  I am offering them here first, so 
you get the first pick.   They are in mint condition and need a new home.  You can
spray paint them if you want them in another color. They are $16.00 for the set
& SHIPPING is FREE within the states excluding Hawaii & Alaska.  
International s/h along with Alaska & Hawaii will have to contact me. 
They will not be posted on Etsy!  So let me know if you want them.
What's awesome about these candle holders is that it can hold wide pillar candles as 
well a tapered candles, see the insert?  Isn't that cool?  
So if you have any questions,please feel free to contact me & will reply to you as 
soon as I can.  Happy trails and happy shopping!


Little Projects

flowers
After the busy month of places to be, things to do, people to see, it finally slowed down this summer in order for me to work on little projects.

My son and I re-vamped this clay flower pot for his cactus plant.  We used acrylic craft paint to paint the inside blue and the outside in white, giving it a two toned appearance.

After the paint dried, he applied glow in the dark paint on the outside surface. When the lights go out, it glows and for him that is an awesome effect. I have to admit, it really is!  I couldn't get a good photo in the dark to show you, but you get the idea.

glow in the dark flowerpot
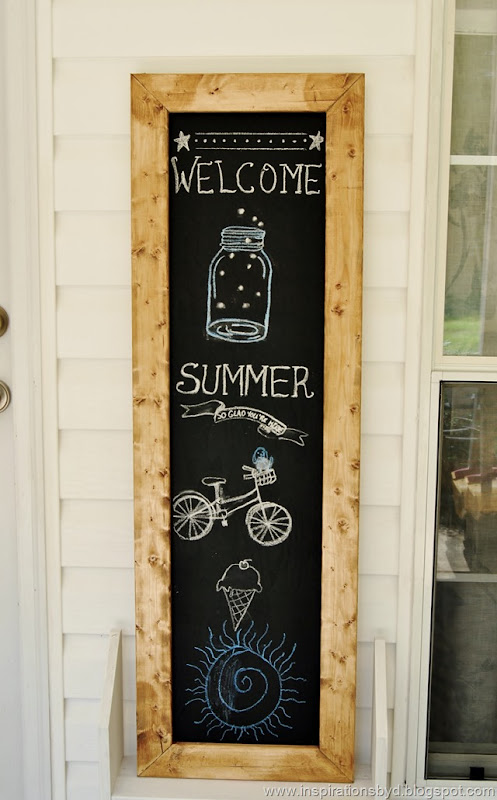
I also finished another chalkboard project similar to the large chalkboard I made a few months back on this post and since then, have painted the frame white.  I have wanted a narrow chalkboard forever and with an extra piece of wood in the garage, I finally made one with my hub's help of course.

We used a flat wood board measuring about 14 x 47.5 inches.  I painted the board with chalkboard paint.

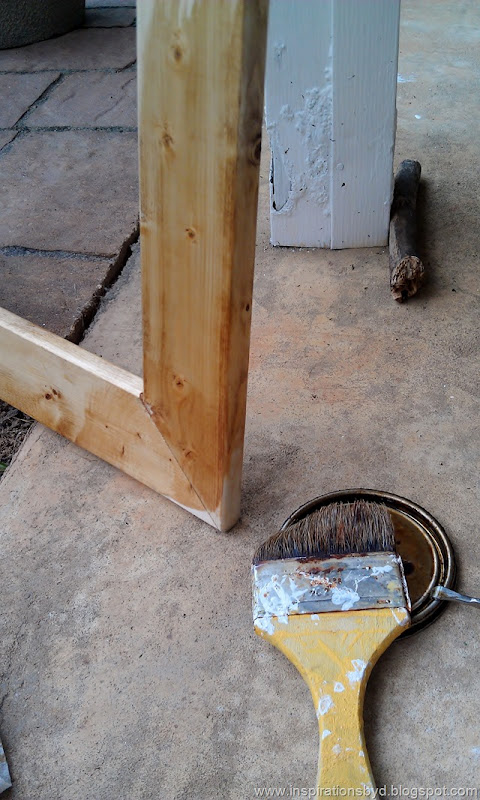
Mr.M cut the angles on the frame and nailed them together.  I then stained the frame and when it was dried, nailed it to the black board surface. The frame measures 15 x 48 inches.

Now all I have to do is make the frame look aged, I was inspired by this chalkboard.  I should have done that before mounting it, but oh well.
I will make it look like antique wood later on & will post about it, so stay tuned.

diy chalkboard
staining wood
diy chalkboard
We added a little art on the board to add a summer feel to our patio.  This will be a 
great little board for seasons and holidays.  

Have you been enjoying your summer?  
Happy Crafting!


Pin It button on image hover