Get ideas & inspirations delivered to your inbox. You won't want to miss a thing, so subscribe free to the Blog Feed or sign up for Free Email Updates on the latest projects, shop news, blog tutorials & more. Check out the Project Gallery, Garden, Recipes & Inspirations tabs above, to see what you have missed. Browse through the sidebar for this week's Popular Posts!
**Please note: Some links may be broken, if this happens, please let me know which post & search for the title of a post on the search tab on the right while I work on fixing the problem.---->
Shop News!
Hello friends! Christmas is next week and I just wanted to say that for the rest of the remaining year, Inspirations by D will not have magnets or push pins in stock. I am in the midst of other projects and have not had the time to dedicate myself to keeping up with creating lovely things for the shop this year, except what is currently available. As for having some in the future, only time will tell.
I thank all those who have been supporters of my magnets especially Nancy, thank you! I hope that everyone has a blessed and wonderful Holiday.
Advent Wreath

The Advent wreath is a wreath, or circle, of evergreens, made in various sizes. It is either suspended from the ceiling by ribbons (preferably purple) or placed on a table. The devotion is usually incorporated during the family meal, or during family night prayers. Fastened to the wreath are four candles standing upright, at equal distances. These candles represent the four weeks of Advent. Three of the candles are purple, reminding us of the penitential nature of the season. A rose or pink candle is lit for the Third Sunday of Advent, also known as Gaudete (rejoice) Sunday. The name is taken from the entrance antiphon or Introit "Rejoice (gaudete) in the Lord always, again I say, rejoice." It is reminding us that the end of Advent is almost here, and we can hardly contain our joy.
The wreath should be in a circle, a symbol of eternity, and a reminder that God has no beginning nor end. The evergreen is a symbol of eternal life and a reminder that God is immutable or unchangeable. (via)The appearance of the actual Advent wreath is varied—everyone has their own interpretation of the Advent wreath. The look of your family's wreath depends on how much time and creativity you devote to it. Your family can create their own special wreath, or add personal touches to a store-bought wreath. We make ours different every year depending on the supplies we have on hand. I like to use what I have on hand.
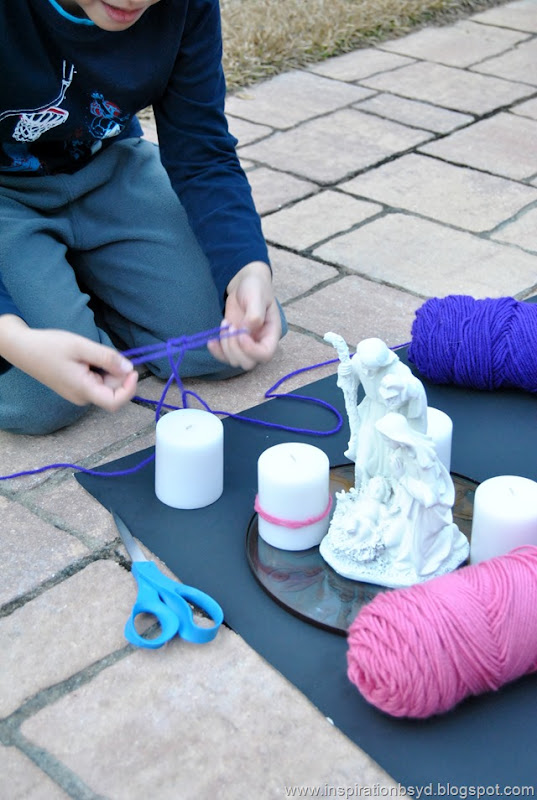
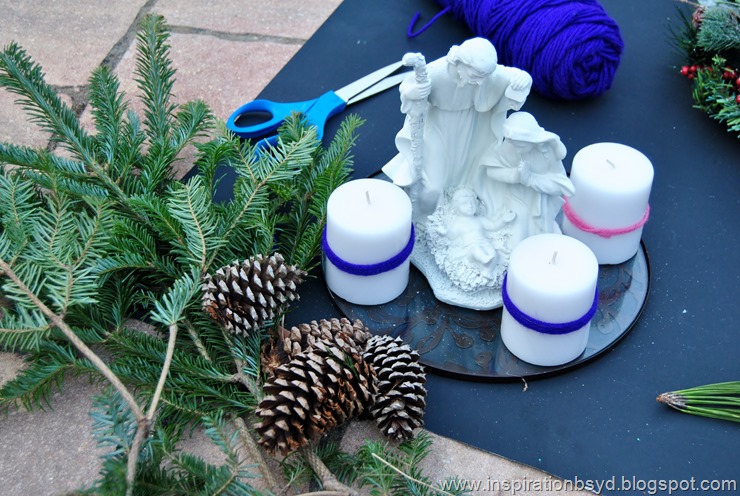
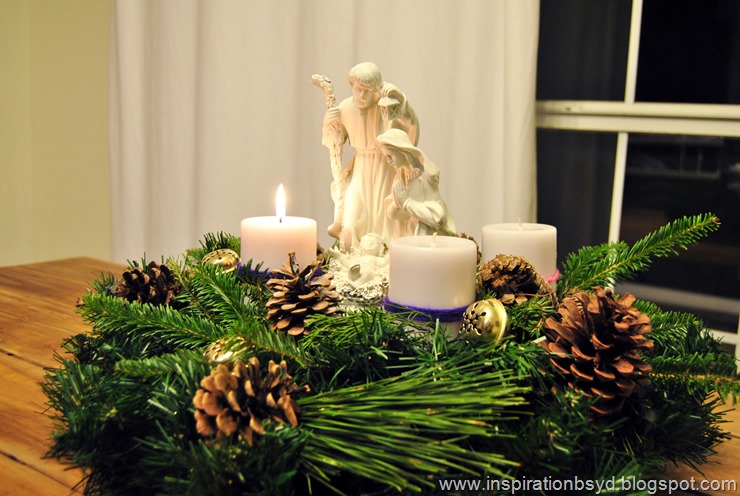
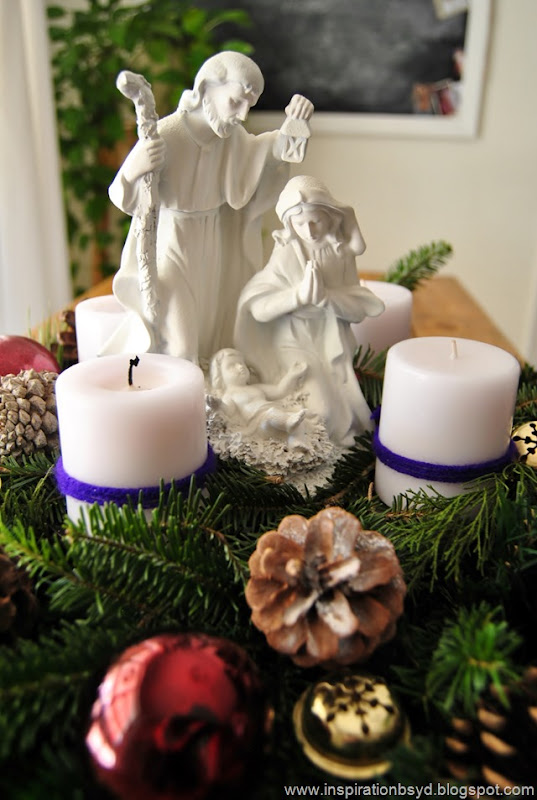
For our Advent Wreath this year, we used white candles because we could not find the purple and pink in our area. So to make up for the candle colors, we wrapped the candles with yarn, three purple and one pink.
Supplies we used:
- 4 candles
- small Nativity Figure
- yarn for colors
- flat glass dish to hold candles
- large candle holder to hold base up (or other wide base like an empty flower pot)
- evergreens & pine cones
- artificial wreath
- scissors
- ornaments
The flat dish was placed over the candle holder, then we placed the Nativity scene in the center. The four candles were placed at equal distances around the Nativity Scene as seen below.
We added extra evergreens to add dimension and texture. We then added pine cones and ornaments randomly around the wreath.




Thank you for visiting! Love having you over,
Do you place an Advent Wreath in your home?
Have you ever thought about adding it to your family tradition?
Do you place an Advent Wreath in your home?
Have you ever thought about adding it to your family tradition?
Posted by
D
Labels:
Advent
,
Advent Wreath
,
Christmas
,
Crafts/ DIY
,
how to make an advent wreath
Create a Good Deed Manger
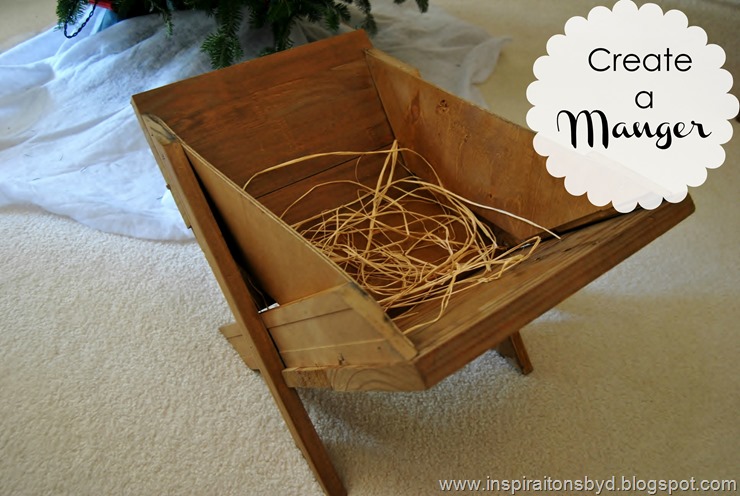
Hello there! I hope that you are enjoying the decorating festivities around blog land. Today I wanted to share something that I have been wanting for a long time and I finally got it done this year. I asked Mr. M if he could make a small manger out of the scrap wood we had in the garage. He wanted to make it beautiful, but I asked that he make it simple and old looking. So this lovely manger is imperfect, but that is why I find it perfect.
This manger will serve as a Good Deed Manger at our home. A Good Deed Manger is a Christmas activity that teaches children the importance of good deeds and acts of kindness. This family activity centers on an empty manger during the time of Advent. By doing good deeds, children as well as adults, earn pieces of hay, that are used to fill the empty manger. So every time a good deed is done, for others, you place hay in the manger. In doing acts of kindness, they learn of it's importance and by the end of Advent, the manger should be cozy for the arrival of baby Jesus on Christmas morning. We have already begun filling the manger with hay for good deeds the family has done, like helping folks stranded on the road with their car, providing food for those in need and helping senior citizens push a cart, buying someone a warm drink...you get the idea.
You may place a Nativity scene around the manger if you like. The manger does not have to be like this one, the manger can be made of anything, cardboard, shoe box, and other materials. Did you know that the actual manger Jesus was laid in was made of stone?
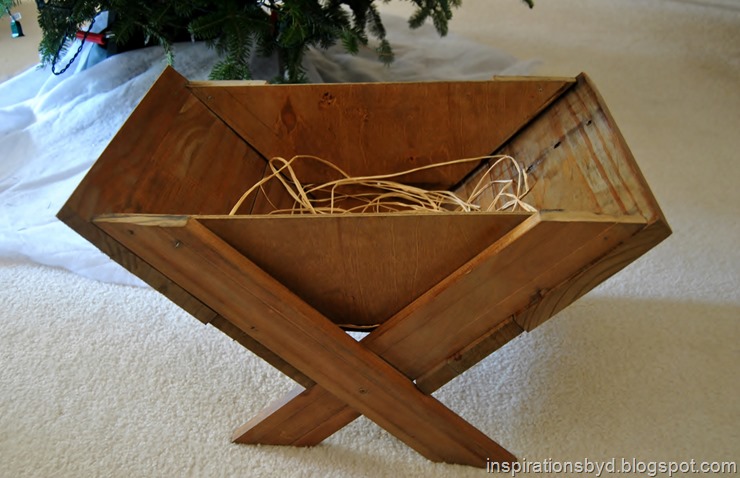
If you want yours made out of wood, then this one is pretty basic. For the platform inside, we used a piece of wood and just laid it in, it's not even attached, that way I can move it around. You can see it on the images below.
The measurements for the boards are:
-legs are 17" long 2" wide
-the two boards on the short end are 12" x 10"
-the longer boards you see attached to legs are 17" x 6" wide
I used a pre-stain wood conditioner to prep the wood (it gives it an even tone when stained
I then used the same stain method I used here.


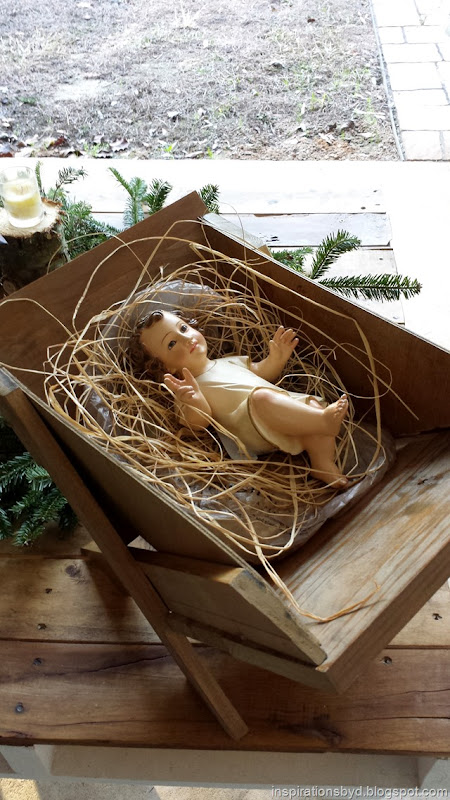

On Christmas morning, the manger should have enough hay for baby Jesus and should look
something like this. Any baby doll can be used. Thank you for stopping by and I hope that
this has inspired ideas for your Christmas.
Posted by
D
Labels:
Children activity
,
Christmas
,
Crafts/ DIY
,
Good Deed Manger
,
Manger
,
Nativity
Big Savings Just in Time for the Holidays:Blurb
(This post contains affiliate links and may be compensated if you make a purchase after you click the links.)
.jpg)
I've been making little adjustments to this holiday's decor. It gets simpler every year, so the only thing I have been decorating is our tree and well that's it. Not to mention a wreath on our front door.
I usually add little something here and there as the week progresses, but I'll just have to wait and see.
With the Holidays rushing through and with so much to do, I wanted to let you know that Blurb has added an extra promotion to make sure you can still save big on your gift books. Make your gift giving easier this year. Now we have the time to gather our photos and make a gift book.
Save 30% off print book orders $175+ with code:BLURB30% or 25% off print book orders $150+ with code: LARGEGIFTS through 12/9. Now's the perfect time to create those gifts!
Posted by
D
Labels:
Blurb
,
Gift Idea
,
Promotions/Reviews
Furniture Makeover
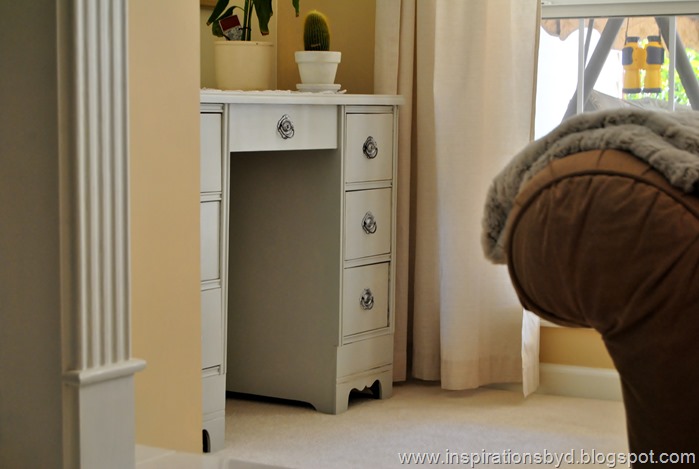
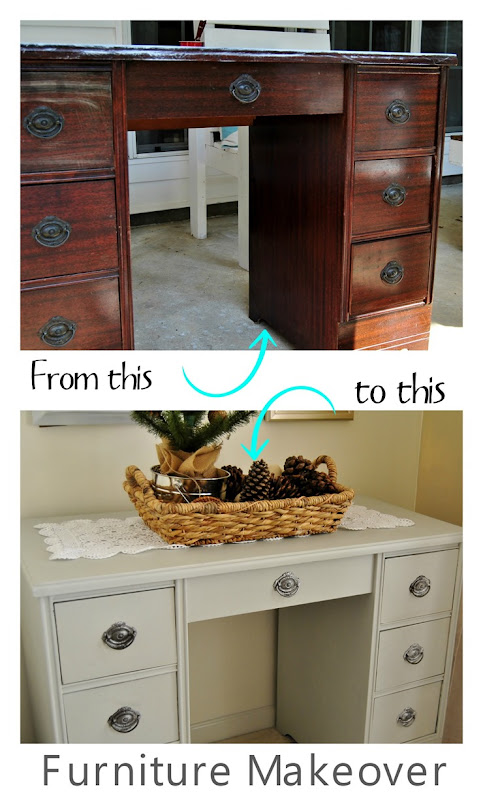 Today I've taken the opportunity to share a desk makeover with you. This little desk is very old and it is not made out of wood, so it was a bit of a challenge only because I could not do what I originally wanted, which was to sand and re-stain it. After sanding the top and discovering that it was particle board, there was just no turning back, so I decided to paint it. The hardest part was deciding on a color, I chose a very light grey for this piece, but who knows what color may lay in it's future.
For this project I used the following:
- primer by Sherwin Williams
- small foam roller
- small paint brush for small areas
- paint stick for mixing
- paint tray
- rag
- gloves
- sand paper block (grade unknown)
- grey paint
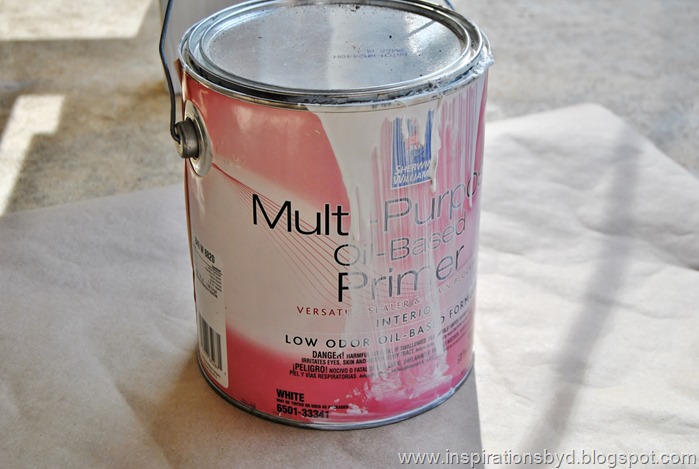
This desk is all laminate, so I used a primer by Sherwin Williams with a low odor formula that I had in storage. For this project I did not sand before priming because this primer adheres wonderfully.
After the primer was dry, I lightly sanded it in order for the paint to go on smoothly. I did not want to use extra chemicals in my paint and since I used a small roller, I did not have to worry about brush strokes. I cleaned off the dust with a rag to prep for painting.
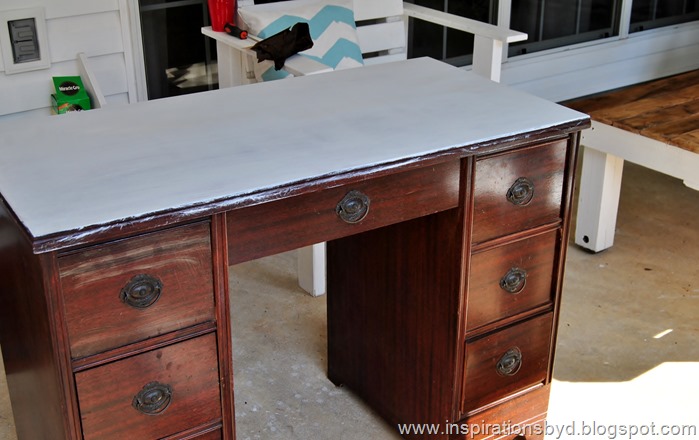
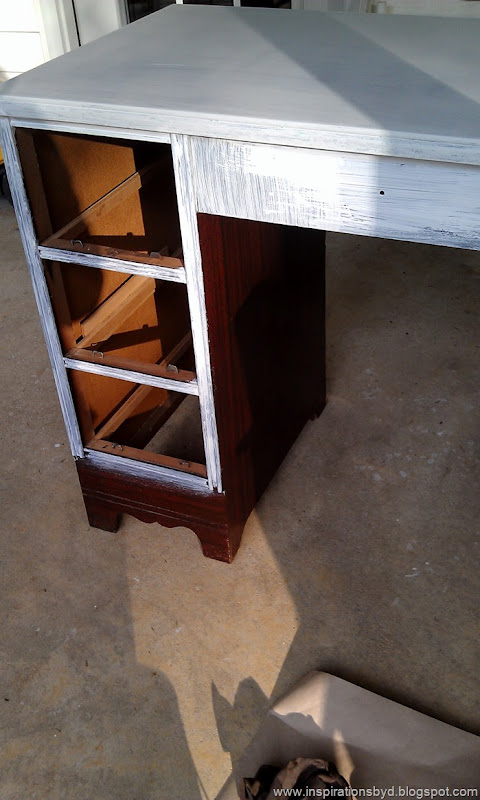
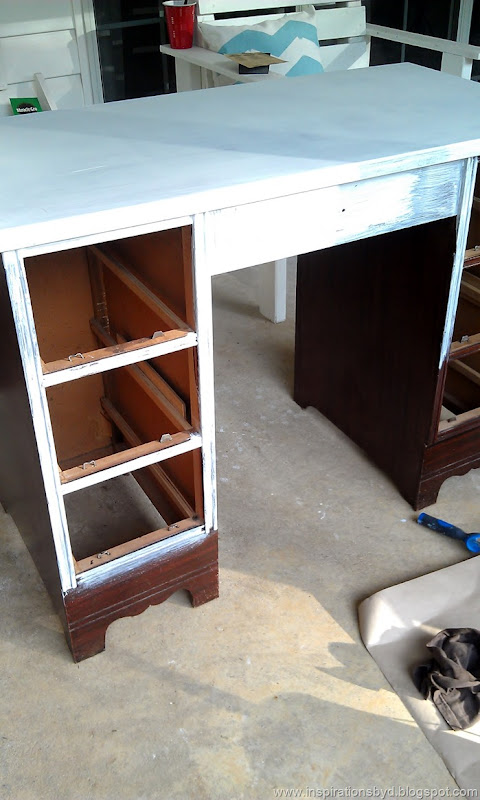
I primed once, sanded lightly and then painted the desk with two coats of a satin finish grey paint, I waited until it dried in between coats. Below is the final finish.
I waxed it a little with dark tinted furniture wax to add a bit of an aged look, but nothing major. It'll do for now until I change my mind and give it another color or look with new hardware.

What do you think?
©2010. http://www.inspirationsbyd.blogspot.com. All Rights reserved.
Subscribe to:
Posts
(
Atom
)

