

We finally managed to place a shiplap feature over our fireplace. It only took eight years, but it finally made it up on the wall. We want to focus a bit on improving our home bit by bit, to make it our own. This is mostly cosmetic and not a necessity, but as I mentioned, we want it to reflect us. Currently, it does not. We were also going to replace the tiles, but the guy never showed up. What is that all about? I don't even know.
So I researched some projects online, and I have to say there weren't many on how to go about this small space. We went to Lowe's and purchased shiplap boards, but not the kind that comes with the gaps. The only kind available at the time was the textured kind. It was really rough and dark, so we used the backside of it instead. I believe that the boards came in a pack of 6. We purchased a quart of white paint and the rest of the supplies we had at home.
Items used for this project:
6 Pre-cut boards
paint
3-yard sticks
Border to build the frame
sander
wood glue
small nails
hammer
drill
2 screws
measuring tape
pencil
We measured the wall from the top of the mantel to the ceiling and the width. We also measured the width of the frame once it was put together and the width of the boards in order to determine how many boards were needed to complete the project if it needed to be cut, which it did.
The back of the boards was sanded to remove sticky residue from stickers. My husband cut some border pieces to form the frame.
He attached the boards to the back of the frame by placing the frame on a table and lining them up. We used three-yard sticks to keep the boards intact on the back so they won't curve and screwed them in.
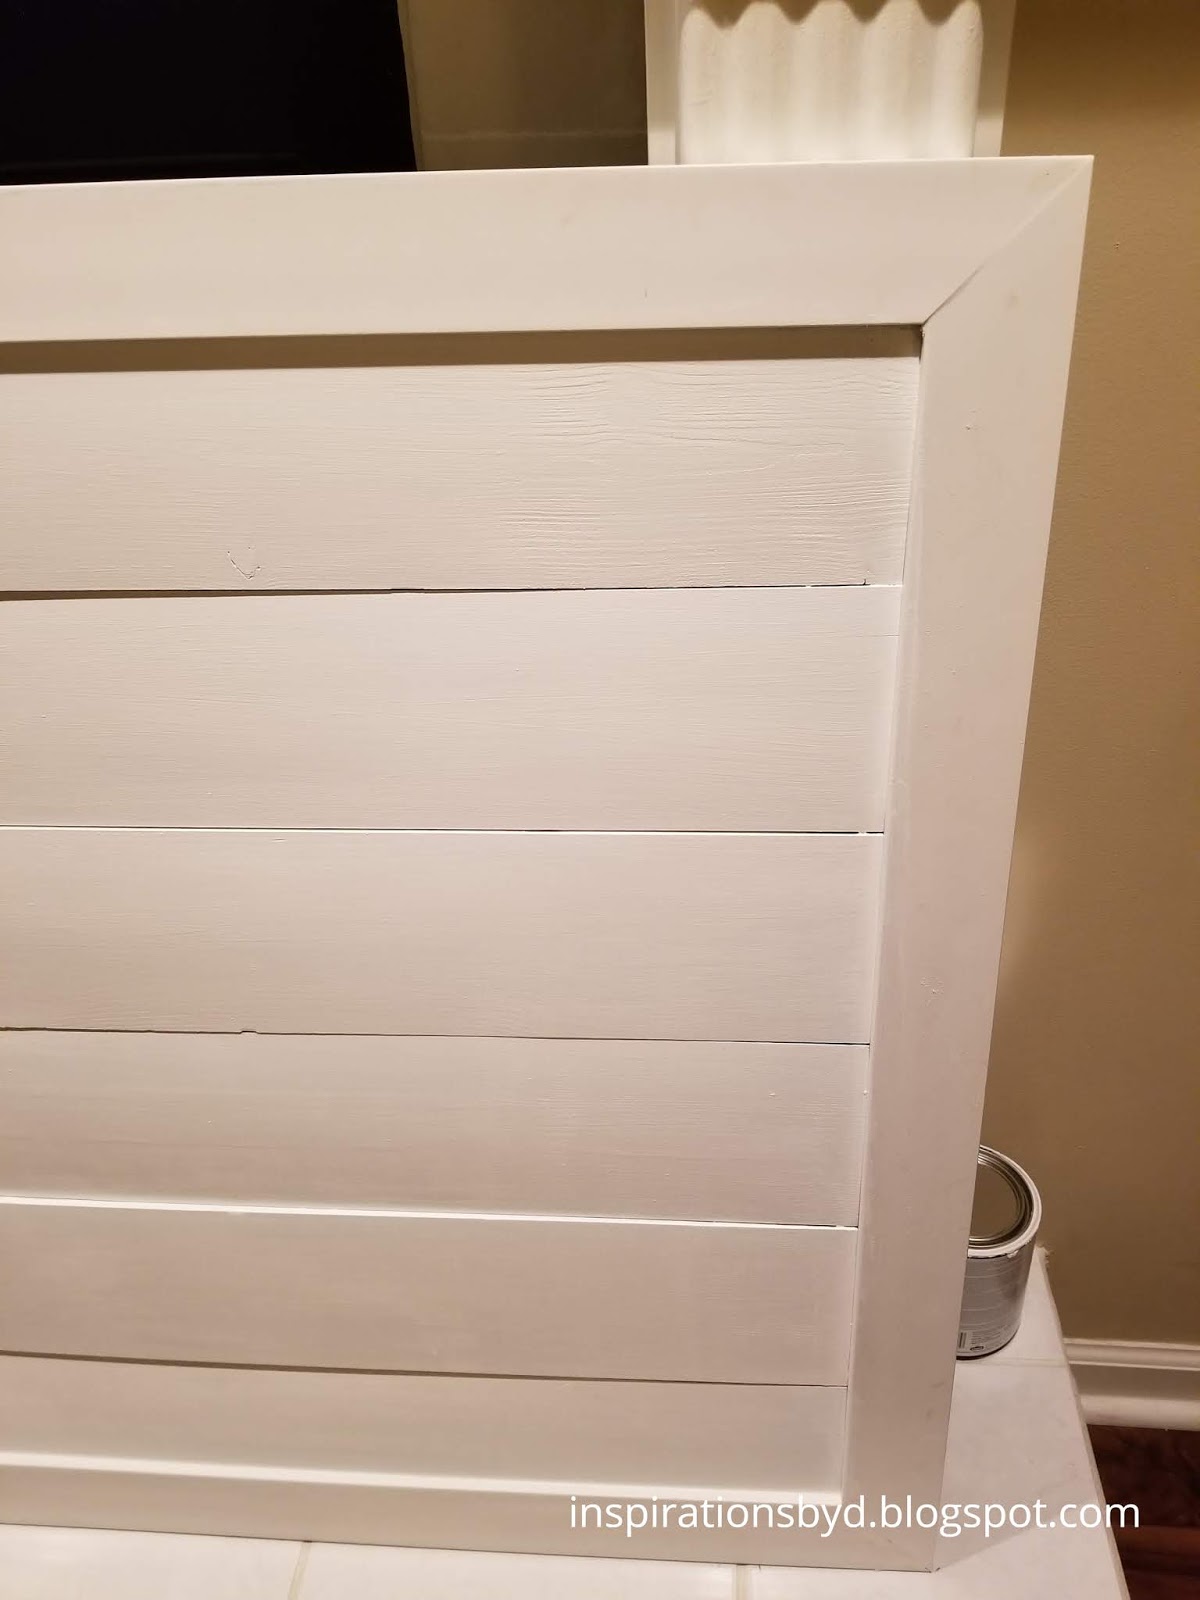
The hardest part of the whole project was to determine the exact measurement needed to keep them the same width. We managed to make the width of each 5 inches and used six boards. The top and bottom board are actually a bit wider, but only 5 inches is exposed because the other half-inch is behind the frame to hold it in place.

(before)


Once everything was cut and placed on the frame, I then began to paint the shiplap, and when the paint was dry, it was time to attach it to the wall. I did have to make sure that the paint did not stick the boards to each other since I did not have the chance to paint them before screwing them to the frame. So, if you are thinking of doing this project, keep in mind to paint the boards separately first. We attached the shiplap with two screws in case we ever sell our house and new owners may not want that look, it will be easy to remove.
The bottom photo was before we attached the yardsticks, so you can see how the boards look, curbed.
(After)

I was pleased to finally have this done. A huge thank you to the hubs for being patient and to our friend for assisting with the frame.
