Get ideas & inspirations delivered to your inbox. You won't want to miss a thing, so subscribe free to the Blog Feed or sign up for Free Email Updates on the latest projects, shop news, blog tutorials & more. Check out the Project Gallery, Garden, Recipes & Inspirations tabs above, to see what you have missed. Browse through the sidebar for this week's Popular Posts!
**Please note: Some links may be broken, if this happens, please let me know which post & search for the title of a post on the search tab on the right while I work on fixing the problem.---->

Showing posts with label kids crafts. Show all posts

DIY: Pipe Cleaner & Cupcake Liner Flowers for Kids

pipe cleaner flowers
I am sneaking in a post before Easter y'all.  Around these parts trees are blooming and flowers are growing, birds are chirping and we are finally feeling the warmth.  The kids are excited about going outside to play, explore and hunt for nature's treasures. But there are other ways to share in the season, lets take the time to create with our kids and make spring flowers with their own flower pots to celebrate the Spring. crafting
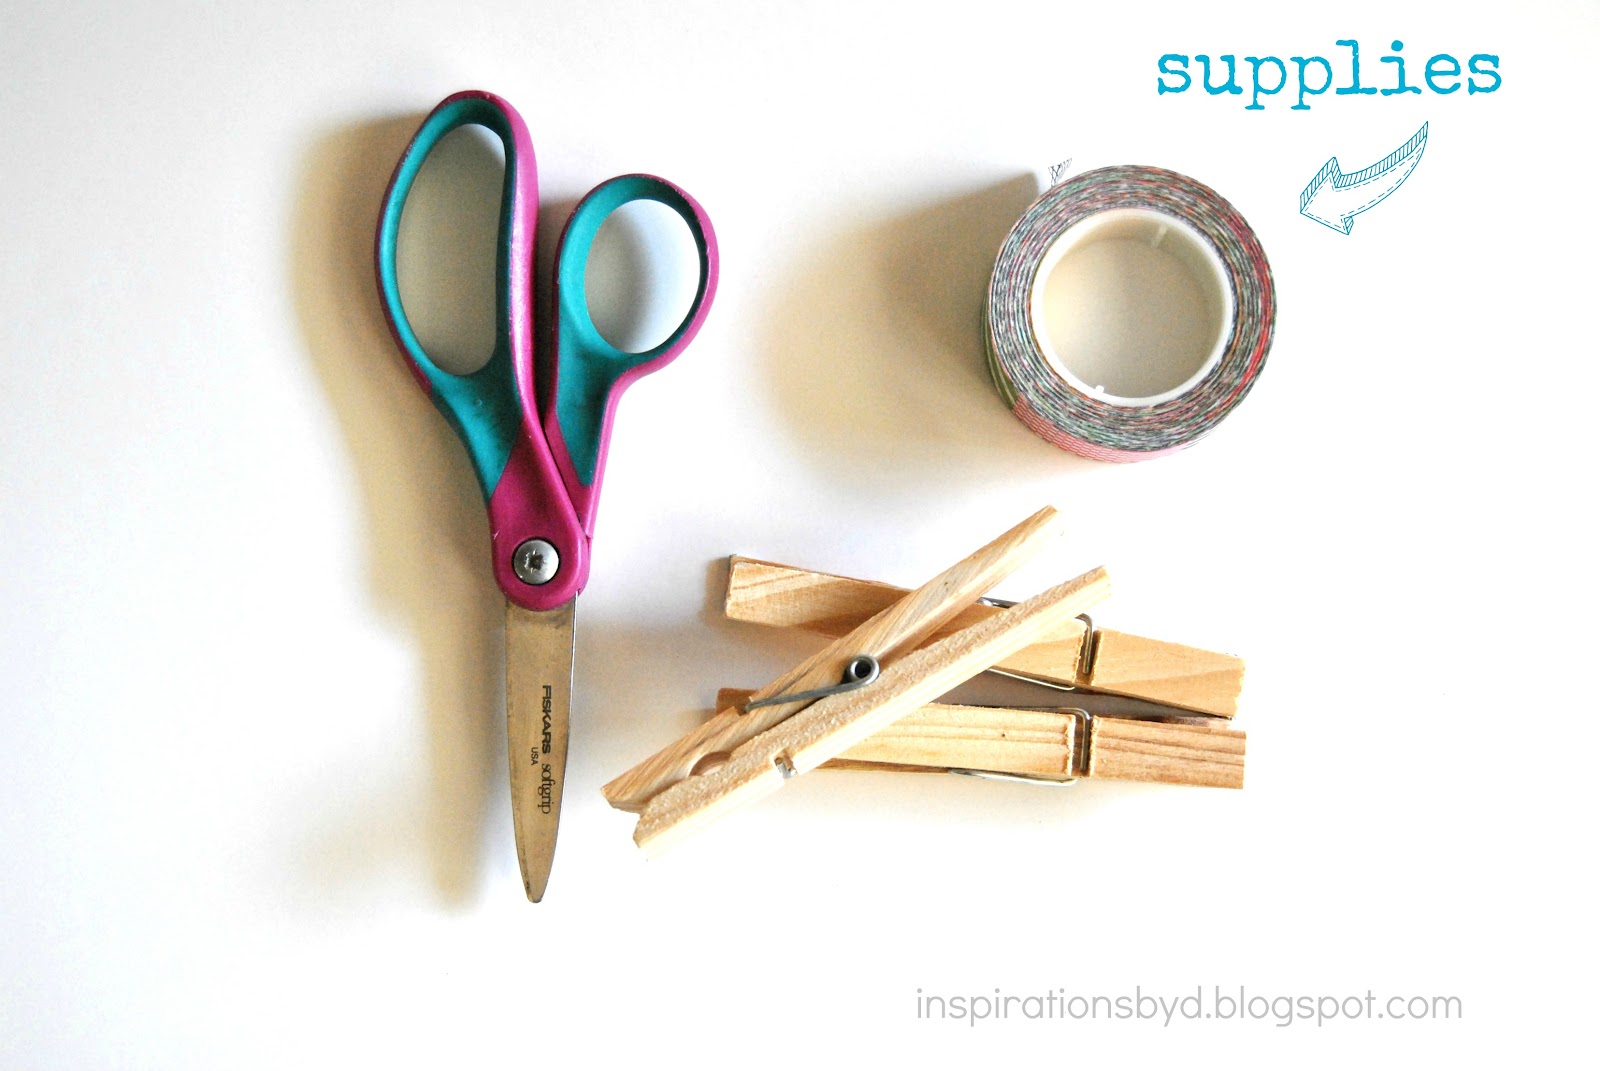
For this little project all you will need are the following:

1. Plastic cups or small plastic flowerpots
2. Pipe cleaners (fuzzy sticks)
3. Floral foams
4. Basket filler
5. Small cupcake liners.
6. Pencil
and the children.
pipe cleaner flowerspipe cleaner flowersThe foams that I used were the size I needed, about 3.5 inches in diameter.  I just made extra by slicing them into 3 to have enough for the kids to insert into the cups like so. Then we covered the top with the Easter basket filler (grassy shredded plastic).pipe cleaner flowers  pipe cleaner flowers
Then we made the flower stems.
Using the fuzzy sticks/pipe cleaners, make a loop on the top and bend it as seen on number 1 & 2.  This will not allow the flower to slide off the top.
3. Slide a cupcake liner through the stick making sure that the design is on the inside, so it looks like number 4.
5. Slide another cupcake liner making sure the design is on the outside.
6. Shape them to form a lovely tulip.
cupcake liner flower

Now it's time to make the leaves.  Cut one of the pipe cleaners in half and overlap it on the stem forming a cross like the image below.  Secure it by twisting it around the stem.
To form the leaf, make a loop like the second image and secure by twisting the end and do the same to the other side.
Now you have a tulip flower.
pipecleaner leafAnother flower they may create with the pipe cleaners are zinnias.  I recommend a pencil for this one rather than a finger as seen below.  Grab a pencil and wrap the pipe cleaner around the pencil similar to image (A).  When the pipe cleaner is completely wrapped on the pencil, slide it off.
Curve it like image (C) and close it in like image (B).  I know I went out of order in the photo, yikes!  But you see what I mean.  When it is closed, slide it through the stem like the image (D).
And there you have your zinnia!
Continue to make more flowers and let the children get creative in forming their own version of flowers.
PIPECLEANERFLOWERpipe cleaner flowersOnce a handful is completed, insert them into the foam in the flowerpot and voila! Now they will have their own Flowerpot for Spring.  Thank you for joining us today and Happy Spring!


DIY: Acorn Garland

DIY: Acorn Garland
A simple acorn garland can bring in Autumn flare into any decor.
 This past week we made our own acorn garland.
It's a great project for kids and parents to make together. 
To create your own, you will need the following supplies.
MATERIALS:
  • Scrapbook paper textured or different designs.
  • Scissors
  • Pencil
  • Tiny Spring Clothespins
  • Baker's Twine
  • Glue
  • Acorn Template
1. Print your acorn template and use it to trace and cut out the acorns
    from the scrapbook paper using the back side.

2.Trace as many as you want to use to create your banner and cut them out. We made six.

3.Trace the top portion (the cap) of the acorn on your dark paper, then cut those out.

4.Paste the acorn caps to the acorn cutouts.

5.When the glue is dry, you can clip them on the twine with the small clothes pins.
DIY: Acorn Garland
Now you can hang them anywhere in your home for Autumn.  
To make it fun, you can write names or words on the acorns.
DSC_0550a
Thank you for stopping by and hope that you enjoy making these.
If you do not have time to make your own from scratch,
visit Paper Source Crafts, for a kit.
Hope that you enjoy!


DIY: Rock Monster Paper Clips

DIY: Rock Monster Paper Clips
These little rock monsters really inspired me.  
Zoe from Coastal Inspired Creations made some amazing little rock monsters 
using rocks, paint & magnets. They have
captivated my son and we just had to make some of our own.

I had on hand some acrylic painted gems for this little project, so I did not
have to paint any rocks.  We also wanted to add our own personal touch, 
so instead of magnets, we made rock monster paper clips.
Here is what we did; you have to include the kiddos for this craft.
  • Sharpie pen
  • White craft paint marker
  • Large paper clips
  • Googley eyes (self-adhesive)
  • Rocks/ gems already painted
  • E6000 glue or crazy glue -(for gluing the clip to gem)

1. Draw teeth in the shape of triangles or squares with the white paint marker.
2. After the white paint is dry, make an outline with the black sharpie to draw the mouth.
3. Add the eyes, since they already come with adhesive, all you have to do is stick it on.
4. Glue the clip to the rock or gem and let it dry.
hot make rock monster paper clips
Aren't they cute?
They are great for favors, gifts and even Halloween giving instead of candy.
Hope that you enjoyed.
Happy Crafting and a big thank you to Zoe!


Large Homemade Bubbles

Large Homemade Bubbles
Guess what we did on another gloomy and rainy day.
We created large homemade bubbles.
I have to admit, even the adults had fun with this little project.
We tried to make even larger bubbles by using a hula hoop, that didn't work,
but our racket did!
We made our bubbles with one part dish detergent and one part water.
So if you use 1/2 cup of water, then you need 1/2 cup of soap.
Mix the soap & water well and pour it into a large flower pot dish.
To make large bubbles, we used an old broken racket. 
We removed the strings and bent it a bit to submerge it into the bubble dish.
Make sure the racket or whatever item you use is completely under the bubble mix.
Then pull it out carefully and either blow the soap film on the racket 
or simply move it in the air forming a bubble.
Hope that you enjoy!


How to Decorate Clothes Pins

How to Decorate Clothes Pins
My little boy loves to draw and he has the largest collection of art work that I have 
ever seen.  It's important to me to show my little guy how much I value his work, 
because in the long run it builds up his self confidence. 

I love to display his creativity. 
I think it is beautiful and he always puts a smile on my face
when he draws something especially for mommy.
In previous posts I gave ideas on how to display your child's art work.

Today I'm passing on more ideas with a little creative tutorial 
on decorating clothes pins to hang art or whatever your heart desires.

You will need the following:
  1. Scissors
  2. Decorative tape (ex: washi tape, fabric tape, scrapbook tape...)
  3. Wooden clothes pins 

Are you familiar with this tape?  It's Smash by K & Company. 
I just love their products.  You can find them in your local craft store.
1. Measure the amount to be placed over the 
clothes pin by placing the pin over the tape.
2. Cut and press over the pin.
3.  You have the choice to either cut off the remaining tape 
or press it in, covering the sides of the pin as seen below.
Use these cute pins to hang your children's art work and create a wonderful display.
Hope that you enjoy and Happy Crafting!


Recycled Supply Case- Kids

Recycled Supply Case- Kids
In an effort to curb boredom on a rainy and gloomy day, 
my little man made his own supply container out of a soda case.  
I am so proud of his creativity, he made it all by himself.
He measured, cut, and glued away.
It was simple to make, the supplies he used were:
     Scrapbook Paper
     Scissors
     Soft drink case
     Ruler
     Mod Podge & brush OR double sided tape-he chose the tape
     Pencil or pen
     Fabric or Washi Tape    

So many great ideas using a soda case, this was his.
Happy crafting with your kids!

Add Glitter to Letters

Add Glitter to Letters

Do you remember last year's little garland project
Well today I decided to give my letter garland a makeover.


I was thinking of adding white or silver glitter, but since I had already painted the letters red, 
I decided to go with red glitter instead.


It was simple, all I did was paint over the letters with mod podge...


Then I quickly added the glitter. You may use Elmer's glue.
Tip:Make sure to place newspaper under your working area 
to avoid making a mess.


The kids will enjoy this one!
Happy Crafting!


Pin It button on image hover