Get ideas & inspirations delivered to your inbox. You won't want to miss a thing, so subscribe free to the Blog Feed or sign up for Free Email Updates on the latest projects, shop news, blog tutorials & more. Check out the Project Gallery, Garden, Recipes & Inspirations tabs above, to see what you have missed. Browse through the sidebar for this week's Popular Posts!
**Please note: Some links may be broken, if this happens, please let me know which post & search for the title of a post on the search tab on the right while I work on fixing the problem.---->
The Marshmallow Test
New Fonts
Have you heard the news? Blogger has added 40 new fonts to their design section (currently available in DRAFT only). They are still working on adding more styles and making it available on the normal design view. Finally, no more codes.
In order for you to view these new fonts, you must log into your blogger account, then go to your dashboard, scroll down to the bottom of the page, under the column section "Tools & Resources", click on " Blogger in Draft", now you should be in draft mode, you will know by looking on the top of the page where it will indicate "draft mode", click on the "design" tab on the top of your dashboard page. Click "Template Design" tab, go down to "advance" and click on it. You will be able to see the new fonts in the scroll box on the side. You can choose to view any of the fonts, don't worry, as long as you do not save anything, it should automatically go back to your original font.
Remember, you may only view these on "draft view" not your regular blogger view, but may still be applied to your blog only if your blog design is not custom made, custom made designs can only change their fonts on the HTML section.
Merry Christmas!
Wishing you a wonderful and blessed weekend with your loved ones.
Posted by
D
Labels:
Faith
,
Holidays
,
Thoughts/ Faith
Chocolate Chip Cookie Dough Cupcakes
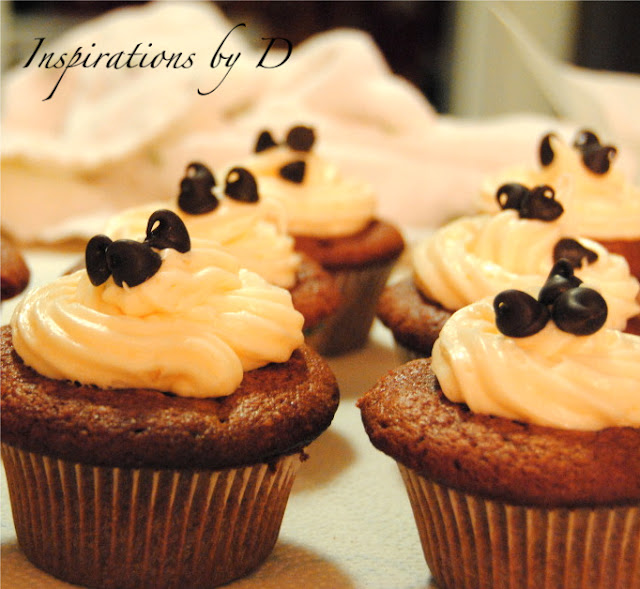
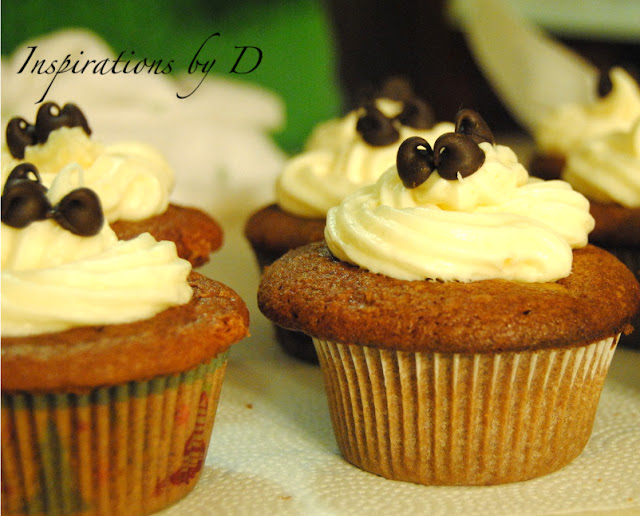
Yes, I am still obsessed with cupcakes this week. I made these yummy cupcakes last night. You can tell by the poor lighting that it's night, so the pictures did not come out as I hoped, but the cupcakes turned out soooo gooood, I couldn't wait to share it with you.
I have made Chocolate cookie dough cupcakes before, thanks to Amanda's recipe and I love them. Last night I decided to try something different...
I have made Chocolate cookie dough cupcakes before, thanks to Amanda's recipe and I love them. Last night I decided to try something different...
Notice that instead of shaping the cookie dough into a ball, I made it longer so that it could spread evenly on the inside instead of going to the bottom of the cupcake.
I wanted a super moist cake and more chocolate...
...that's when I thought, instant chocolate pudding.
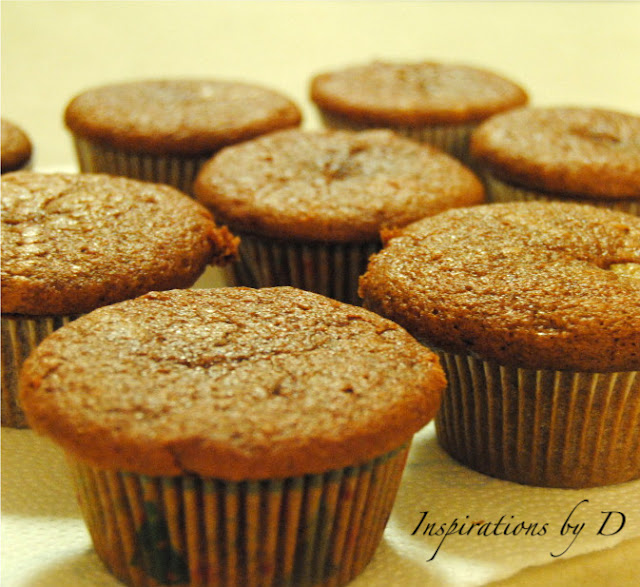
Ta da! Can't see the cookie dough...
Love it, got these shots this morning! What a difference in lighting! Can you see that yummy cookie dough on the inside?
The cake recipe I used is:
1 box yellow cake mix
1- 41/2 cup serving box of instant chocolate pudding
1/2 cup granulated sugar
3 eggs
1 cup oil
3/4 cup water
Bake at 350 degrees following instructions on the box.
You may find the filling and frosting recipe here along with the original cupcake recipe.
Posted by
D
Labels:
Entertaining/ Food
,
Recipes/ Cooking
,
Sweets
A Mall Surprise
Posted by
D
Labels:
Holidays
,
Thoughts/ Faith
,
videos
Red Velvet Cupcakes
Paula Deen's recipe calls for 1 teaspoon of cocoa powder, but the chocolate is what I loved about the cupcake, I added a bit extra to mine.
My little helper (my four year old) loves that they are so red. He helped mix the batter and pour it into the Nonstick Bakeware Muffin Pan .
.
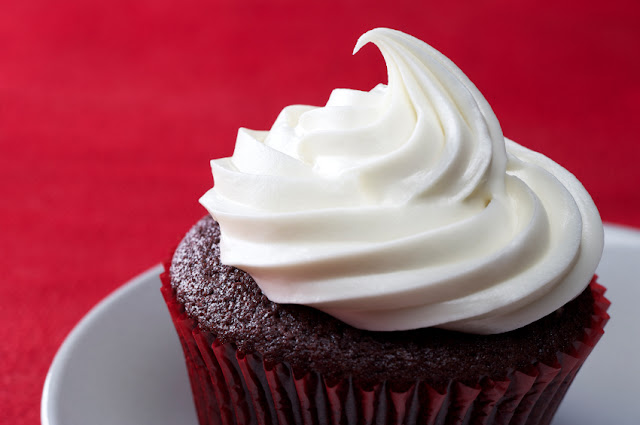
Although the recipe includes a "make it yourself cream cheese frosting", I already had on hand Duncan Hines Creamy Home-Style Frosting, it is just as good and already made.
Oh yum!
I think I may make these for Christmas, but next time I will add white chocolate shaving on top. Yummy!
Ingredients
- 2 1/2 cups all-purpose flour
- 1 1/2 cups sugar
- 1 teaspoon baking soda
- 1 teaspoon salt
- 1 teaspoon cocoa powder
- 1 1/2 cups vegetable oil
- 1 cup buttermilk, room temperature
- 2 large eggs, room temperature
- 2 tablespoons red food coloring
- 1 teaspoon white distilled vinegar
- 1 teaspoon vanilla extract
For the Cream Cheese Frosting:
- 1 pound cream cheese, softened
- 2 sticks butter, softened
- 1 teaspoon vanilla extract
- 4 cups sifted confectioners' sugar
- Chopped pecans and fresh raspberries or strawberries, for garnish
Directions
Preheat the oven to 350 degrees F. Line 2 (12-cup) muffin pans with cupcake papers.
In a medium mixing bowl, sift together the flour, sugar, baking soda, salt, and cocoa powder. In a large bowl gently beat together the oil, buttermilk, eggs, food coloring, vinegar, and vanilla with a handheld electric mixer. Add the sifted dry ingredients to the wet and mix until smooth and thoroughly combined.
Divide the batter evenly among the cupcake tins about 2/3 filled. Bake in oven for about 20 to 22 minutes, turning the pans once, half way through. Test the cupcakes with a toothpick for doneness. Remove from oven and cool completely before frosting.
For the Cream Cheese Frosting:
In a large mixing bowl, beat the cream cheese, butter and vanilla together until smooth. Add the sugar and on low speed, beat until incorporated. Increase the speed to high and mix until very light and fluffy.
Posted by
D
Labels:
Entertaining/ Food
,
Recipes/ Cooking
,
Sweets
How to Make a Felt Coffee or (hot cocoa) Cozy
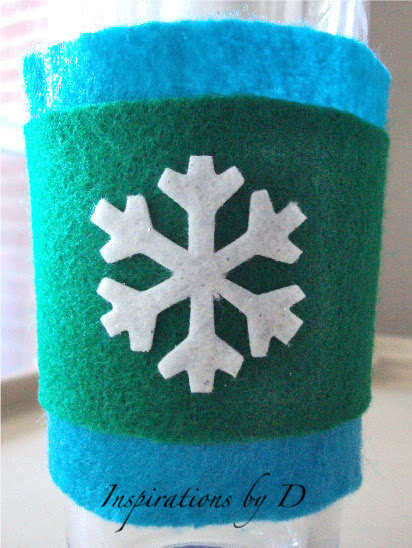
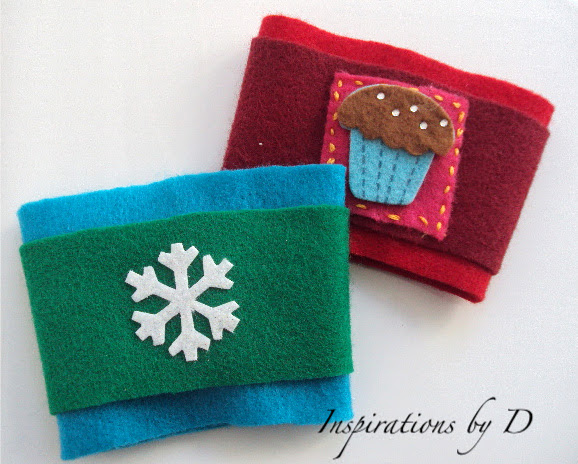
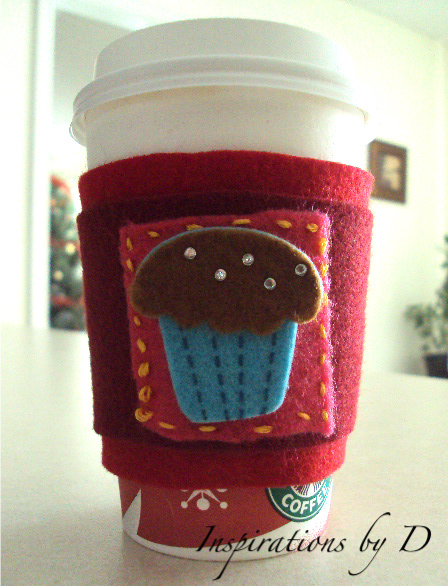
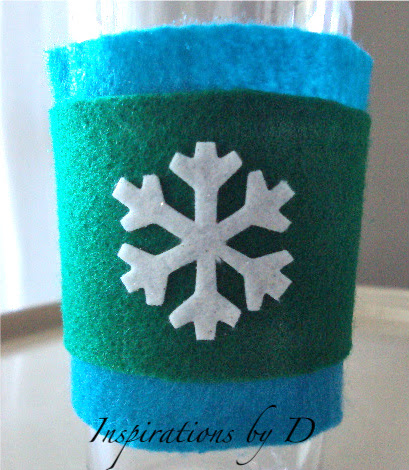
I love my new coffee cozies. They are fun and decorative. I carry them all the time in order to use them whenever I have a hot or cold beverage, no need to create more waste with those cardboard cozies. Go green and make your own.
These are pretty easy to make, not too much sewing involved here, just cutting and overlapping with a bit of glue.
These are pretty easy to make, not too much sewing involved here, just cutting and overlapping with a bit of glue.
These are so simple to make, if you have a sewing machine, super! I made these by hand.
Materials:
Felt
Scissors
Cardboard template
Cardboard template
Thread and needle or sewing machine:-)
Felt stickers (sold at crafts store)
Hot glue gun and glue sticks
Decorative thread for stitch
White fabric pencil or chalk
I don't normally buy ready made coffee, instead I make my own coffee or cocoa at home, but if I'm out and in the need for a beverage, I can use these homemade cozies instead of the cardboard one that shops provide. Less waste right!
I found this particular cardboard cozy on a store shelf, can you believe that? Has anyone ever heard of a garbage can? Well I decided to remove it from the shelf and then I had the thought of using it as a template for my cozy.
I used a cupcake felt fabric sticker and cut an inch square of the remaining felt to apply my sticker. I sewed the square with the decorative yard/thread to the felt fabric. You may glue yours instead.
Sew the seem of the felt together to close..
...and this should be your finished cozy.
These are so fun to make, you can even use an old sweater sleeve to make a knitted cozy. Make or buy a cozy for yourself, a friend or a relative. Happy crafting!
Christmas Glass Push Pins
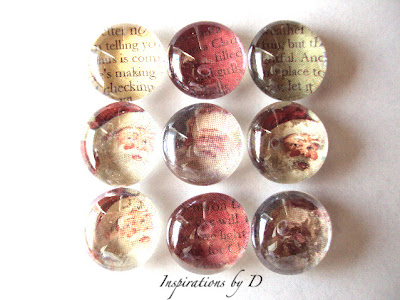
These lovely Christmas push pins show a vintage Santa and parts of Christmas songs. They will look festive on any cork board/ bulletin board in an office, classroom, home, dorm or anywhere you like.
Pin your Christmas cards this year and make it look decorative with these lovely push pins. Stuff a stocking with these from Etsy at Inspirations by D.
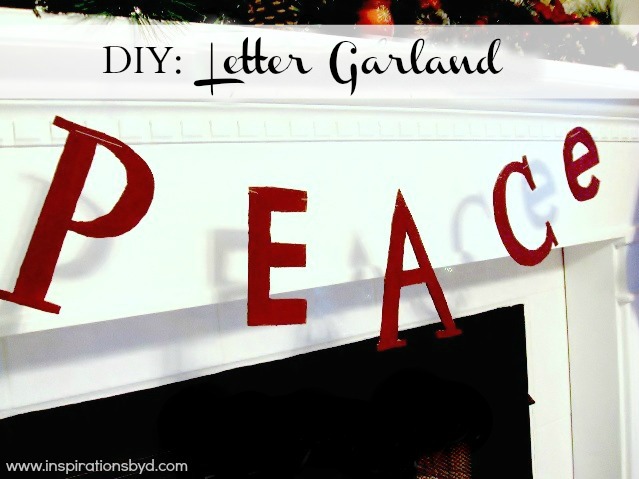
How to Make a Letter Garland
This Holiday Season, we decided to craft our own word garland with simple supplies
that we found at home. My inspiration is this rustic word decor from Pottery Barn.
To make your own letter garland, you will need:
Card board
Ruler
Pencil
Scissors
X acto knife
Paint of your choice available at a craft store or Walmart
Strong thread or string
Glitter (optional)
Instructions
1. Lay cardboard flat on the table and either trace your template or draw free hand using a ruler.
2. After your letters are have been traced, use a x acto knife to cut out the letters.
3. Make sure the edges are nice and clean, you may use a pair of scissors to remove
extra cardboard from corners or edges.
4. Have your little one(s) paint the letters. They will enjoy it!
5. Let the letters dry and add another coat of paint if needed.
6. After the paint is dry, take a large needle and thread and start connecting the letters. You may also punch holes and use yarn to connect the letters as you would when you are bunting.
Simple
Now you will have a lovely letter garland. Be creative and add your personal touch to your garland.
Happy Crafting!
Posted by
D
Labels:
Crafts/ DIY
,
Holidays
,
Letter Garland
Depraved Indifference
Please help provide whatever you can by donation or service to "Food for the Poor". Let us not forget our brothers and sisters who need our help, will you show your love.
Posted by
D
Labels:
Faith
,
Thoughts/ Faith
,
videos
Our Perfect Tree
My husband and I have been married eleven years and throughout our eleven years of marriage, we never had a real Christmas tree, we used a faux tree that we purchased when we lived in Germany. This year we decided to get a real Christmas tree for our new home. It will be my
son's and my husband's first real tree.
This particular tree farm sprayed some of their trees with a special green paint to keep it fresh
and green. I did not want anything with paint, especially with two asthmatics in the house.
I wanted the real deal 100% all natural. So we kept looking.
and green. I did not want anything with paint, especially with two asthmatics in the house.
I wanted the real deal 100% all natural. So we kept looking.
This was the one, the right height, thickness and all natural.
When we brought it home the entire house had that fabulous scent
of fresh blue cypress pine.
of fresh blue cypress pine.
We love, love, love our new natural tree!
Now all we need to do is to decorate it!
Now all we need to do is to decorate it!
What's your preference real or faux?
Advent Wreath for Kids
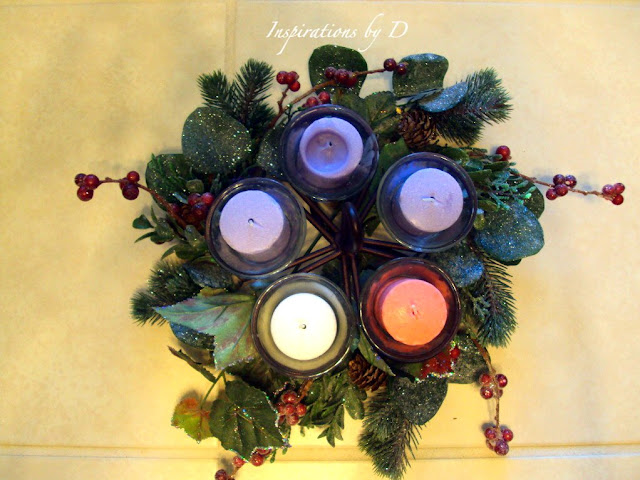
How to make your own Advent table wreath, by a four year old.
Supplies:
Votives, candle holders, candle stand, greenery.
Hope you all enjoyed the simple table advent wreath by my little guy.
Holiday Wishes to you!
Posted by
D
Labels:
Advent
,
Advent Wreath
,
Holidays
,
how to make an advent wreath
,
kids crafts
Personalized Photo Items
Wrapped Canvas
Cute Photo Note Cube
Fun Jumbo Photo Puzzle
How great would it be to get these personalized photos of your little ones or the whole family for your home or give a personalized photo to a loved one as a gift!
Thought I would share this idea with you all.
Subscribe to:
Posts
(
Atom
)


