Get ideas & inspirations delivered to your inbox. You won't want to miss a thing, so subscribe free to the Blog Feed or sign up for Free Email Updates on the latest projects, shop news, blog tutorials & more. Check out the Project Gallery, Garden, Recipes & Inspirations tabs above, to see what you have missed. Browse through the sidebar for this week's Popular Posts!
**Please note: Some links may be broken, if this happens, please let me know which post & search for the title of a post on the search tab on the right while I work on fixing the problem.---->

Showing posts with label Christmas. Show all posts

DIY: Christmas Tree in a Bottle Ornament

DIY Christmas tree in a bottle ornament

Bring a unique Christmas style to your home with this handmade ornament!  Add this bottle
brush tree decoration to your collection of Christmas ornaments and look forward to hanging 
it up on your tree every holiday season. Hang it up in the center of a wreath on your front door. 
You can even simply set it on a table or shelf to add a bit of festive holiday spirit wherever 
you need it. You may even tie several together to create a fun garland for your decor need.

This ornament contains a tiny winter scene that will perfectly complement the rest of the 
festive ornaments on your life-size tree! It's been partially filled with artificial snow, 
making it look like a winter weather scene. 

To make an ornament like this you will need the following:

  • artificial snowflakes/flurries
  • small glass bottles with cork tops (four inches or smaller)
  • small bottle brush Christmas trees, (different sizes optional, but that fit inside bottles)
  • hot glue gun and glue sticks
  • string for hanging (your choice of string)
  • looped hooks to place the string

www.inspirationsbyd.blogspot.com

To begin, you may cut the amount of string that you need and tie it through the looped hooks
as seen below.

www.inspirationsbyd.blogspot.com

Screw the hook into the cork making sure it is tight and snug.  You may twist it into the cork
with your hands.

www.inspirationsbyd.blogspot.com

Next, add a drop of hot glue to the bottom of the bottle brush tree and place it into the glass
bottle.

www.inspirationsbyd.blogspot.com

For the wintry effect, add the snowflakes into the bottle pushing it gently with a thin stick,
coffee straw or kabob stick so it stays in the bottom. Then add the cork to the top gently,
but tight to close it.  Make sure it is not loose, some may feel more comfortable by adding glue
to secure it, but I did not add glue to mine and it is fine.

You may make several of these for your Christmas Tree or home decor. They will be great
for an ornament exchange party, the ideas are endless. Aren't they adorable? I love it!
handmade Christmas ornament
Christmas tree in a bottle
christmas tree in a bottle ornament
bottle ornament
These are just too cute and so easy to make, you may be able to find the supplies at any craft
store.
Let me know your thoughts and thank you for stopping by for some Christmas inspiration
today.
Happy crafting!

Tree Classics: Kennedy Fir Narrow Christmas Tree

*Disclosure: Tree Classics Sponsored the item on this post.  All views and opinions expressed are my honest 100% opinion.
www.inspirationsbyd.blogspot.com
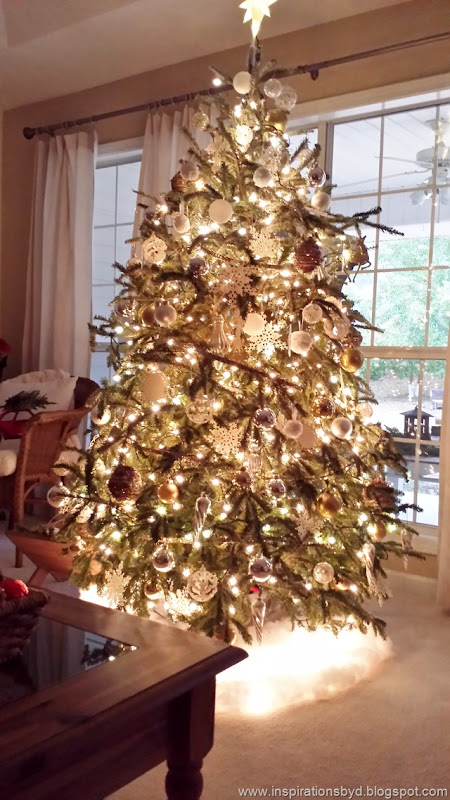
I’m excited to have a Tree Classics Christmas Tree this year to review, it is their Kennedy Fir Narrow Christmas Tree. When Tree Classics asked if I would consider reviewing their Kennedy Fir Narrow Tree, I was thrilled to do so.  I was not sure what to expect, but I did know that the tree was going to be pre-lit. I also wanted to know if it was going to be of good quality, and it is.

The Kennedy Fir Narrow Christmas tree is beautifully designed with a combination of life-like, real feel (PE) tips on the outside and PVC needles in the inside that give it a lush appearance of a genuine tree. The branches slightly descend to create a lovely scene that draws everyone together to view the glowing lights that create a starlit effect. The tree I received measures 7 1/2 feet tall and 42 inches in width. It features a light connection for each section toward the middle of the tree. It has bright green real feel foliage and hinged branches for easy setup. The tree comes with a sturdy metal stand with extra bulbs and fuses. Tree Classics also offers Color Changing LED lights on their trees.
unboxing tree
unboxing chrismas tree
www.inspirationsbyd.blogspot.com

Tree Classics was very prompt in their delivery. When the box arrived, it looked sturdy and was in good condition. I opened the box and the tree was wrapped in bubble wrap to protect the bulbs during shipment. The tree arrived in three sections, the top, the middle, and the bottom and included the stand. It was very easy to assemble because it is narrow and the lights may be plugged inside by the trunk. I was pretty skeptical about having a pre-lit tree considering that I’ve had one many years ago and once they burned out, that was it. But according to Tree Classics description page, if one light goes off, the rest remain lit. The cord includes an on and off switch located toward the bottom. The tree arrived with plenty of extra bulbs and fuses if replacements are needed.  I was unsure of the diameter of the tree since I have never had a narrow tree before, but for the space I needed, the tree is a perfect size. I love the width! As I continued fluffing the tree, I was not sure how I felt about the PVC needles in the inside but to my convenience, since the needles are flexible, they served well for holding the decorative ribbon in place and make the tree look full. The PE tips have a realistic look and feel that hide the PVC branches. In the past, I have had real trees, so the fact that the tips of this tree are realistic is wonderful. I love that there are no needles on the floor and that I do not have to water it. The only thing missing would be the fragrance of a real tree, but a scented stick from my Young Living collection does the trick.
Tree Classics

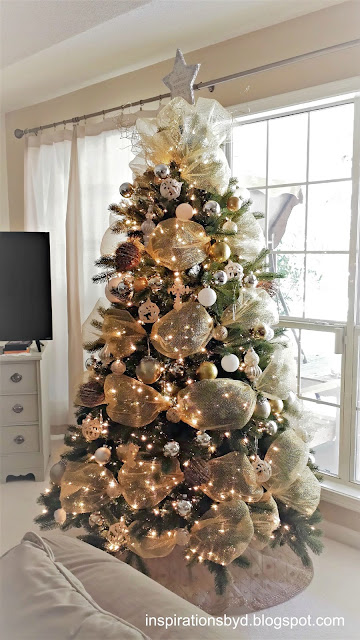
It was easy to decorate, I used simple snowflakes, glass ornaments, white branches, mesh ribbon and a few handmade ornaments.
This tree is perfect for small spaces, and for those who do not want to deal with the mess of a real tree but want to keep the look as realistic as possible. This tree works well for those who may want more than one tree, perhaps for a dining room, bedroom, office or playroom where space may be limited. It is perfect for people in apartments or those lacking storage space, this tree will not take up as much storage as a larger tree would. It is the perfect space saver.
www.inspirationsbyd.blogspot.com

This year the tree turned out just perfect for this space. It looks gorgeous and it is so pretty from the outside by the window. I personally love this tree and all its conveniences. I am pleased with my Kennedy Fir Narrow Tree. Thank you, Tree Classics. Tree Classics is an extraordinary company with great customer service. I recommend their trees for your Christmas Holiday!


Christmas Tree Storage with Tree Classics

*Disclosure: Tree Classics Sponsored the item on this post.  All views and opinions expressed are my honest 100% opinion.

I usually keep our Christmas tree up during the twelve days of Christmas.
It is at this time after the 12 days that I begin to put the decorations away. 
This year I was fortunate enough to have a tree storage bag from Tree Classics

www.inspirationsbyd.blogspot.com

In the past years, I stored my tree in its original box, but the box weakened and our tree broke. This year I have a better solution and that is to use a storage tree bag that will keep our tree in tip-top shape for years to come.

www.inspirationsbyd.blogspot.com

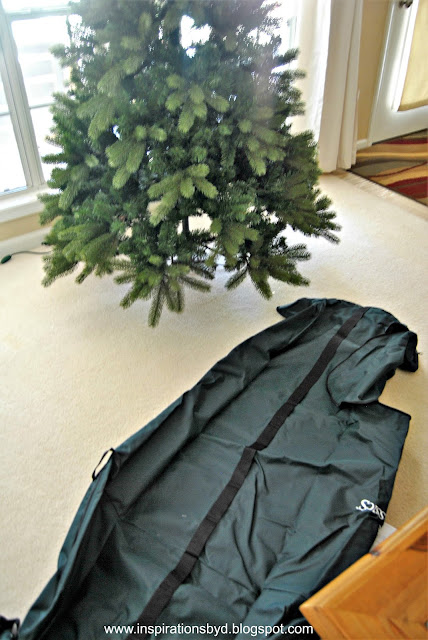
I received the storage bag after the tree was assembled.  I had to remove the base and place it in the bag.  I secured the legs of the base into the straps provided. I put the tree back on the base.  
The Tree Storage bag attaches to your tree stand and acts like a simple tree skirt during the 
Christmas season. 

When the holidays are over, open the tree skirt, grab the built-in handles, and pull it upward. 
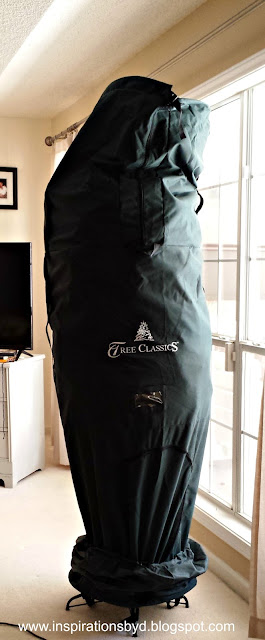
The bag compresses your hinged tree and gets it ready for storage in minutes. After you've compressed your tree, it's easy to pick it up and move it to a closet, basement or garage.  
When it's that time of year again, grab your tree from storage, unfasten the top zippers 
and straps, pull it down and your tree is ready to decorate.


www.inspirationsbyd.blogspot.com

The Deluxe Upright Tree Storage Bag is specially designed to provide our cherished Christmas tree with the care and protection it needs. The polyester fabric keeps out dust and dirt. The straps provide maximum support. This bag easily accommodates fully assembled trees measuring up to 7.5 feet tall and features an extra pocket for stowing away extra ornaments and accessories, this was my favorite section. Durable side handles make moving your tree easy, and a clear tag holder allows you to identify the bag's contents quickly and conveniently.   They have storage bags for other tree sizes and for all your Christmas decorations.

www.inspirationsbyd.blogspot.com

When you receive your storage bag, just read the instructions carefully first and follow the directions, it is that simple.  If you skip reading the instructions, you will not know how to store your tree in this bag.  There are straps that keep the base in place.  You will also need another person to help you if you have a large tree.

www.inspirationsbyd.blogspot.com

I enjoyed using my new storage bag this year and look forward to using it for years to come. 
Do you want a storage tree bag too?  If you do, Tree Classics is having a sale and you can
get one now before January 17th for the sale price on their site. 

www.inspirationsbyd.blogspot.com

Hurry on over, sale ends January 17th!

Christmas: A History

www.inspirationsbyd.blogspot.com

The word Christmas was derived from the Old English Cristes Maesse or 
"Mass of Christmas."  Over the centuries it has become a comprehensive word 
including both the religious traditions and the secular traditions.

In North America, the early immigrants brought their different Christmas traditions. 
The Germans brought the Christmas tree, the Irish contributed the lights in windows 
of homes, Catholic immigrants brought Midnight Mass and everyone had their own 
Christmas carols.

Many happy traditions revolve around the Yuletide season, but have you ever 
wondered when we started celebrating Christmas and how it came about? For a 
closer look at the origin of this beloved holiday visit the Tree Classics blog.

A Merry Christmas to you from our family to yours!


How do You Capture Memories

www.inspirationsbyd.blogspot.com
**I was compensated for this post. This post also contains affiliate links and I will 
be compensated if you make a purchase after clicking on my links. 

How do you capture family moments during the holiday season?
We have decorated at home for Christmas and have put up our tree
with its glistening ornaments, sparkling bright lights, and golden ribbon.
We have hung our homemade stockings by the fireplace, have put up our 
Jesse Tree and baked cookies that fill the air with goodness and we continue to
make family memories each day.  It all sounds so wonderful, but we want to
remember those lovely moments, and so this is where Blurb comes in.  I have made
photo books in the past and why not create one for the Holidays too.  

I enjoy looking back at our photos from previous family moments while curling 
up by the fireplace as I turn each page.  I love that Blurb makes their photo books 
look like storybooks, except that it is our story.  Not every moment is wonderful,
but I love to look at the changes of each year.

It is amazing how children change each year, how decorating styles change 
from season to season, and it is all captured by images in a book.  
The great thing is that we get to share it with our 
parents, they get to view the moments they have missed due to distance. 

I would not like you to miss an opportunity to make your own memories this year
and share it with loved ones, or even create your own cookbook with Blurb because
even that would make an awesome Christmas gift.  So I am sharing with you 
right now that today until December 12th everything is 35% off. So
you have all day today to get your memories into a book.  Use this code: AWE35

Hurry on over before the sale is over, remember it is only until 12/12/16.

Thank you for stopping by today!


Tiny Prints Sale!

(Disclaimer)*  This post also contains affiliate links and I will be compensated if you make a purchase after clicking on my links. I was compensated for this post.

Tiny Prints is my favorite place to go for cards because I love their 
quality, their many designs, and my favorite part is that they can mail it out for you.  What?  Yes!  
You can visit their website for more information on that when you order from Tiny Prints.

 These are some of my favorite cards, they have so many to choose from.  Everyone is 
ordering their holiday cards this time of year, so this is the perfect opportunity 
to order yours.

I have ordered from Tiny Prints several times and I am always pleased with their 
cards.  I have received Thank you cards to mail out to friends and relatives for their 
gifts.  I have received Christmas cards that impressed my family members because of their 
great quality.  I have even purchased address stamps with cute fonts and layout.  
If you have never ordered from Tiny Prints, this is your opportunity, check them out and 
tell me what you think.  Aside from cards, they also have great gifts that you may personalize,
these will make wonderful gifts for family and friends.  


This week they are having a Thanksgiving SALE and you will be able to save 30% off 
all orders or 40% off $99 or more.  Use code: GIVETHANKS at checkout.  This sale runs 
until 11/24.

Hope that you have a great Thanksgiving!


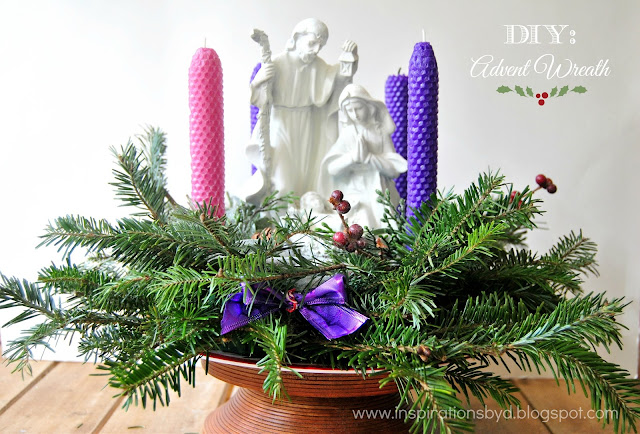
DIY: Advent Wreath

How to make an advent wreath


Last month, I purchased a set of votive candles, made out of pure beeswax and I fell in love 
with them.  The candles have a sweet, natural fragrance of honey and they burn beautifully.  
It inspired me to use natural elements for our advent wreath this year, by incorporating natural evergreens and 100% beeswax candles.  It was difficult searching for the colors that I wanted in beeswax because I wanted to use the traditional purple and rose colors for my candles. 

I decided to make my first set of candles.  The colors of the candles were perfect, and their 
size was just what I needed for my advent wreath.  My son, who also loves to create, was fascinated by the process of candle making.  My method was messy and unsafe for him to 
melt wax, so through a wonderful blogger, I found a  Beeswax Advent Taper Candle Making Kit.
I purchased a kit and followed the instructions to make the candles.  My son had a blast with 
his dad making these lovely tapered candles.  

There are several kits online, but the kit that we chose for this project was the Advent Candle Kit.  I won’t go into details on how they made the candles because the set includes instructions.  You may catch a glimpse of the process below on the images labeled (A-D).   

In the end, we chose to use the candles that my son made for the Advent Wreath, 
he was so proud of them and how could I say no?  What you see here are the candles 
made by my son and his dad.  I guess mine shall be put away until next year.

In the past years, I have shared a couple of my Advent Wreaths on this blog.  I have had different varieties of advent wreaths, but today I will share my favorite thus far.  
The wreath itself still needs a little work,  but my son helped me make it.  
It doesn’t have to be perfect, to be beautiful. 


When the boys completed the beeswax candles, I selected three narrow floral foams that I had on hand.  It is preferable to use one whole piece, but that is what I had at the time.  I connected the foam with skewer sticks.  Then, I cut out the corners of the foam to round it out a bit.  I placed a Nativity  for decoration purposes on the center of the foam & measured equal distances where the candles were to be inserted.  I cut out the holes.  I placed the figure back into the center and inserted the candles in their place.

I poured water on the foam, to prepare it for the greenery that I was going to insert.  When the foam was evenly saturated with the water, we began inserting the pine leaves in the foam at an angle to form the wreath.  We covered every area, to make sure that the foam was not visible.  


We keep the foam saturated, by spraying water every other day to keep the leaves green.  We love how our wreath turned out.

Below you will find a list of the materials that I used for this project.  Thank you for stopping by and hope that you enjoy your season.  Do you have an advent wreath this year?

natural advent wreath

Materials:

or
OASIS Floral Foam Cake & slice it in half
- figure or white candle for the center
- greenery such as pine or other leaves
- a platform
- a plastic plate
- water


Two are Back! -Christmas Garlands at Etsy

garland
Hello friends, I am stopping by today to let you know that these garlands are available once more
at my Etsy shop.  There are only two rolls (9 yard roll) left from last year and I will no longer make these. 
I am trying to make this a happy Christmas for my little one and appreciate your support.  Please 
spread the word, to others who may be interested and thank you always.  Enjoy your week!  

Christmas Home 2014

Christmas 2014
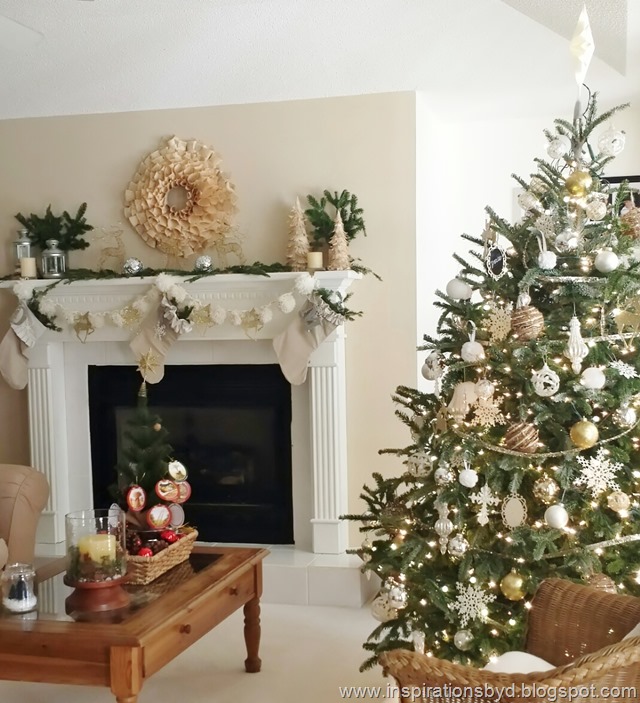
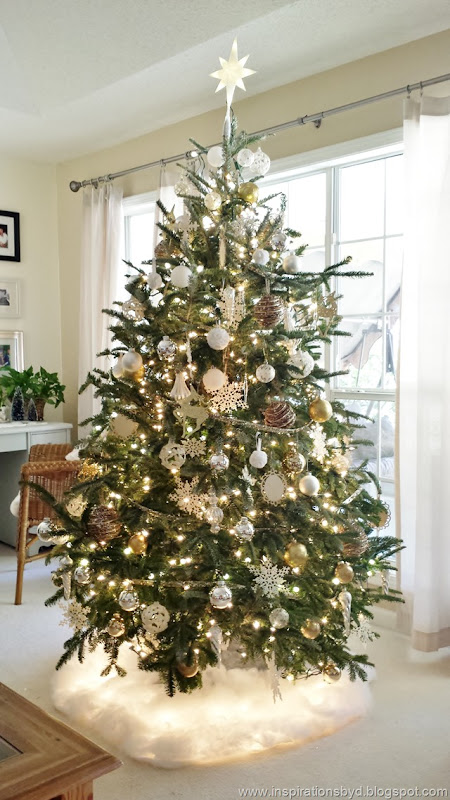
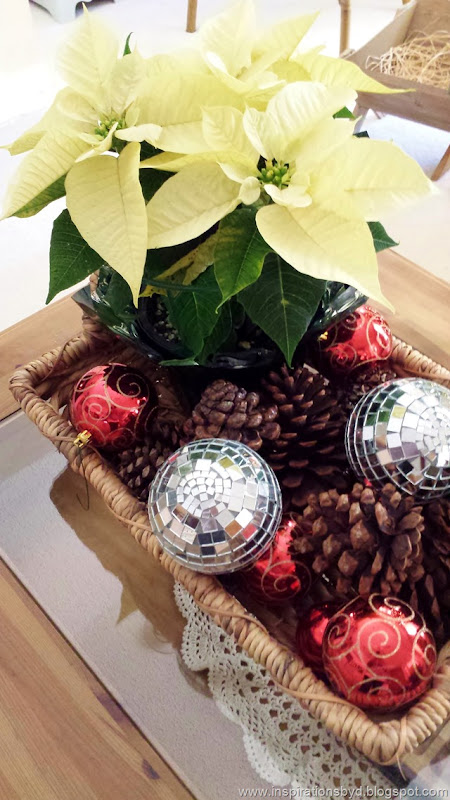
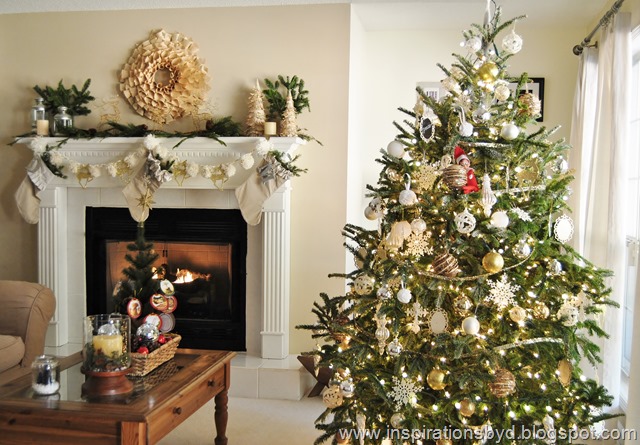
Welcome to my Christmas Home tour.  As you view the images you will notice that I
have kept it pretty simple around here.
It has been dark and gloomy around these parts and it'll be that way until Christmas, so I was
not able to capture as much as I would have liked to share with you, but at least I was able
to get these photos.
I have been baking lots of cookies this year to share with friends & family, so when
you walk in our home, the fragrance of fresh baked chocolate chips cookies is what you are
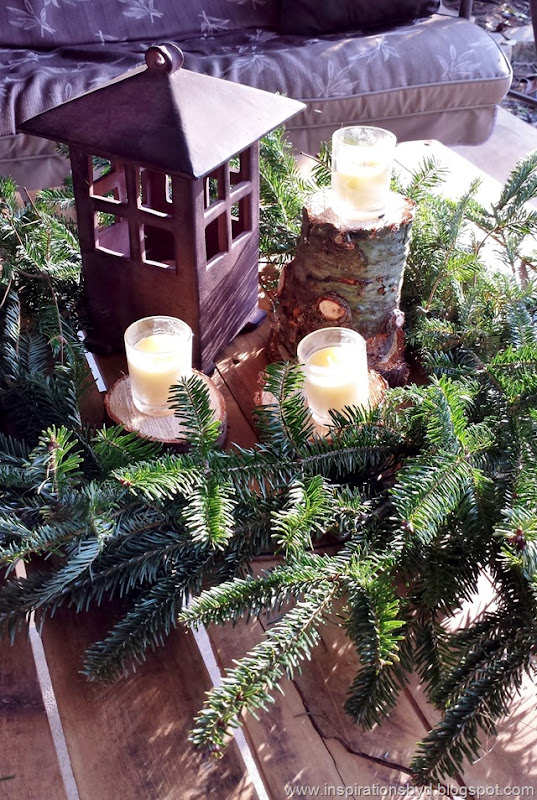
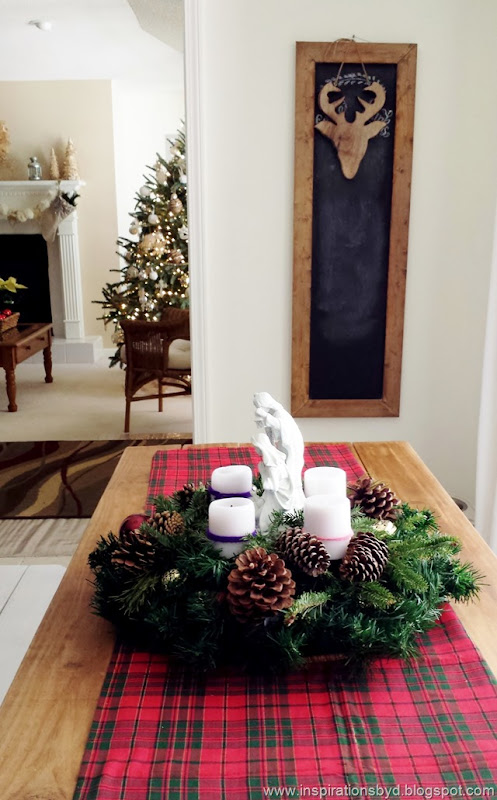
met with.  Upon entering the home you will also encounter our Advent Wreath on our dining
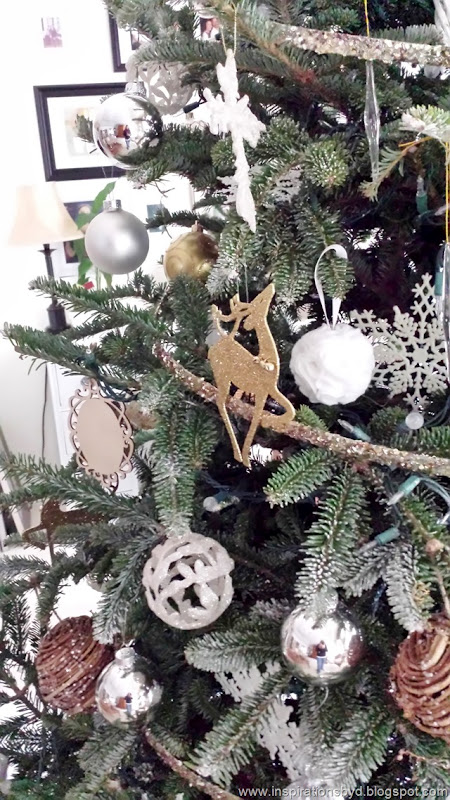
table.  As you look into the living room, the first thing you will notice is the Christmas tree.
I used what I had on hand for the tree decorations and my previous handmade ornaments.
 
Inspirations by D
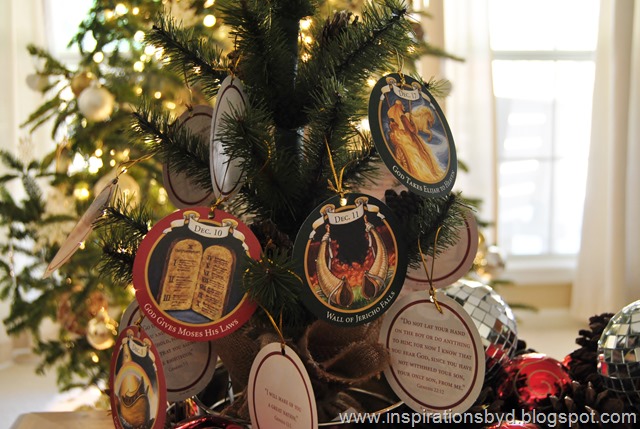
Below is this year's Jesse Tree.  I found some cool Jesse tree ornaments online, so I didn't
have to make my own as I did last year.  My son loves these.

Jesse Tree
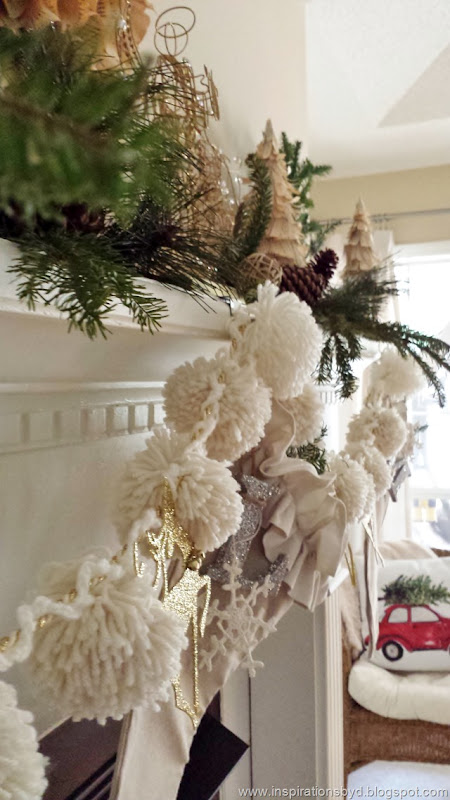
I used my pom pom garland from last year, but I added more pom poms and made the
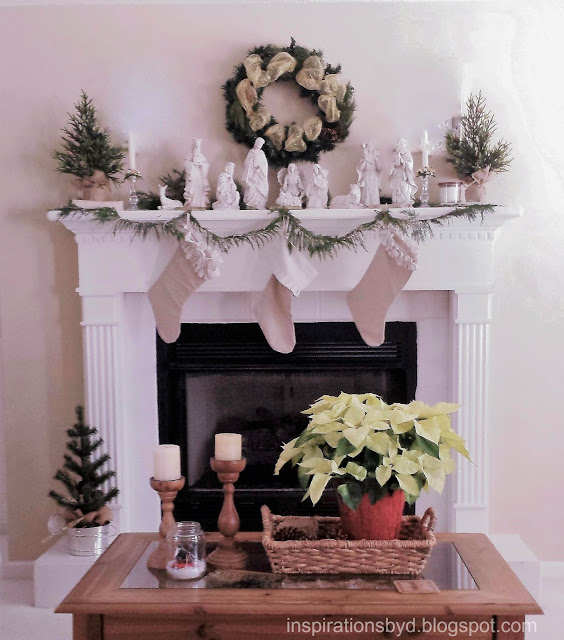
cord thicker to decorate the mantel.  I love it!  The stockings are also handmade and you can find the
tutorial here.  For more tutorials on items featured here, visit the Project Gallery.

Christmas Mantel
Christmas TreeMangerChristmasChristmas decorChristmas tourChristmas Home TourChristmas TreeInspirations by Dwww.inspirationsbyd.blogspot.comwww.inspirationsbyd.blogspot.comwww.inspirationsbyd.blogspot.com
Thank you for joining me on this tiny tour of my Christmas home.  I leave you with Warm Wishes this Holiday Season!

Linked to:

The Nester


Pin It button on image hover