Get ideas & inspirations delivered to your inbox. You won't want to miss a thing, so subscribe free to the Blog Feed or sign up for Free Email Updates on the latest projects, shop news, blog tutorials & more. Check out the Project Gallery, Garden, Recipes & Inspirations tabs above, to see what you have missed. Browse through the sidebar for this week's Popular Posts!
**Please note: Some links may be broken, if this happens, please let me know which post & search for the title of a post on the search tab on the right while I work on fixing the problem.---->

Showing posts with label Crafts/ DIY. Show all posts

Create a Good Deed Manger

Inspirations by D
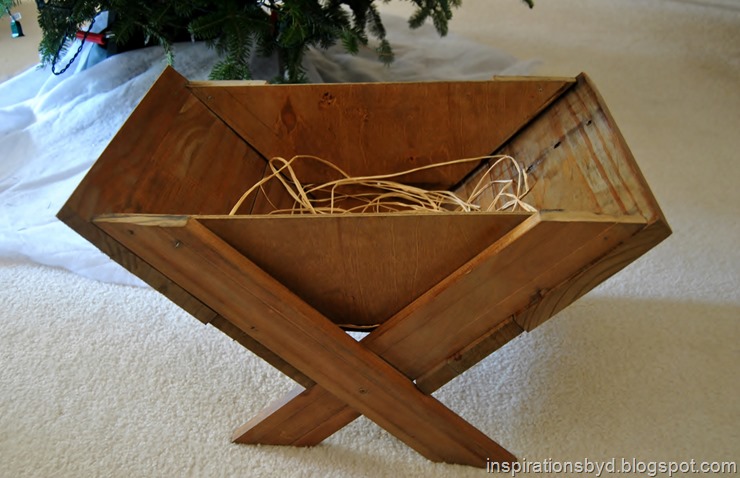
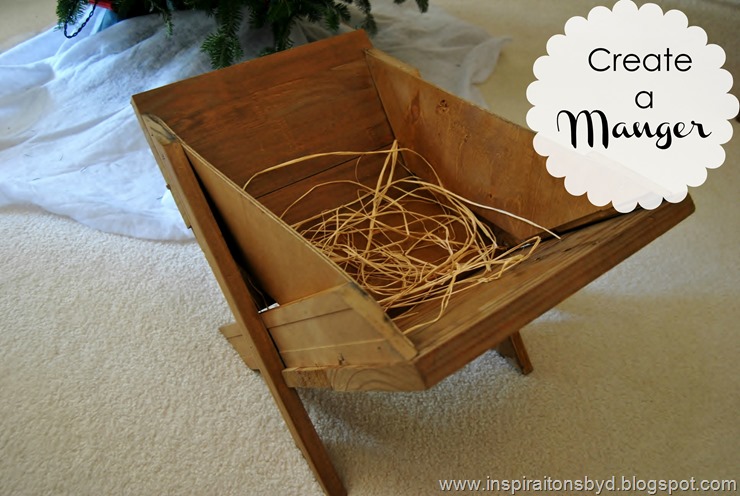
Hello there!  I hope that you are enjoying the decorating festivities around blog land.  Today I wanted to share something that I have been wanting for a long time and I finally got it done this year.  I asked Mr. M if he could make a small manger out of the scrap wood we had in the garage.  He wanted to make it beautiful, but I asked that he make it simple and old looking.  So this lovely manger is imperfect, but that is why I find it perfect.

This manger will serve as a Good Deed Manger at our home.  A Good Deed Manger is a Christmas activity that teaches children the importance of good deeds and acts of kindness.  This family activity centers on an empty manger during the time of Advent. By doing good deeds, children as well as adults, earn pieces of hay, that are used to fill the empty manger.  So every time a good deed is done, for others, you place hay in the manger.  In doing acts of kindness, they learn of it's importance and by the end of Advent, the manger should be cozy for the arrival of baby Jesus on Christmas morning. We have already begun filling the manger with hay for good deeds the family has done, like helping folks stranded on the road with their car, providing food for those in need and helping senior citizens push a cart, buying someone a warm drink...you get the idea.

You may place a Nativity scene around the manger if you like. The manger does not have to be like this one, the manger can be made of anything, cardboard, shoe box, and other materials.  Did you know that the actual manger Jesus was laid in was made of stone?

If you want yours made out of wood, then this one is pretty basic. For the platform inside, we used a piece of wood and just laid it in, it's not even attached, that way I can move it around.  You can see it on the images below.

The measurements for the boards are:
-legs are 17" long 2" wide
-the two boards on the short end are 12" x 10"
-the longer boards you see attached to legs are 17" x 6" wide

I used a pre-stain wood conditioner to prep the wood (it gives it an even tone when stained
I then used the same stain method I used here.

manger
mangermanger
mangermangermanger

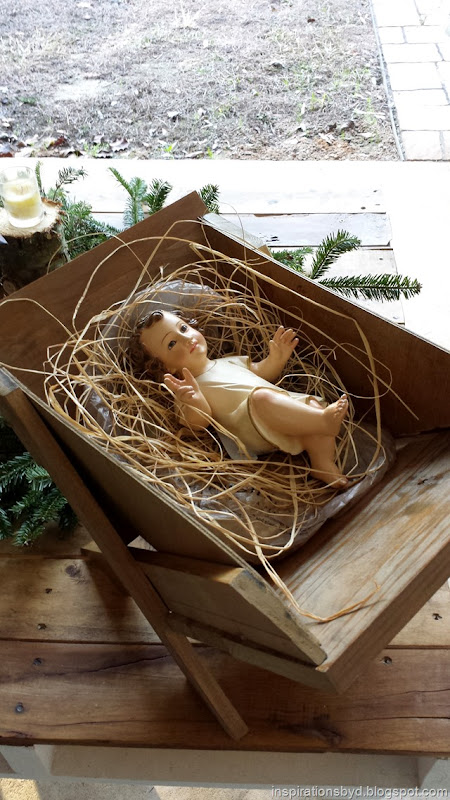
On Christmas morning, the manger should have enough hay for baby Jesus and should look
something like this. Any baby doll can be used.  Thank you for stopping by and I hope that
this has inspired ideas for your Christmas.


Furniture Makeover

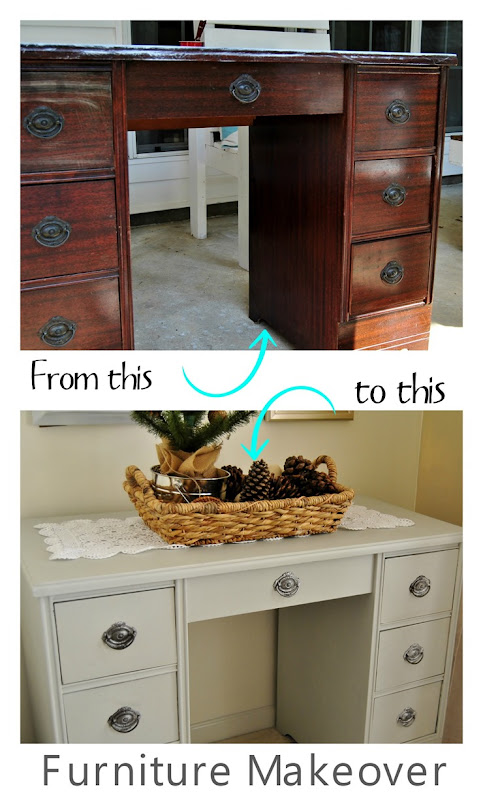
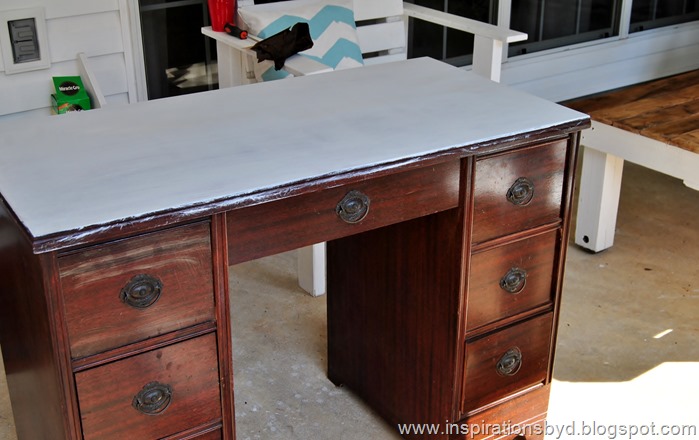
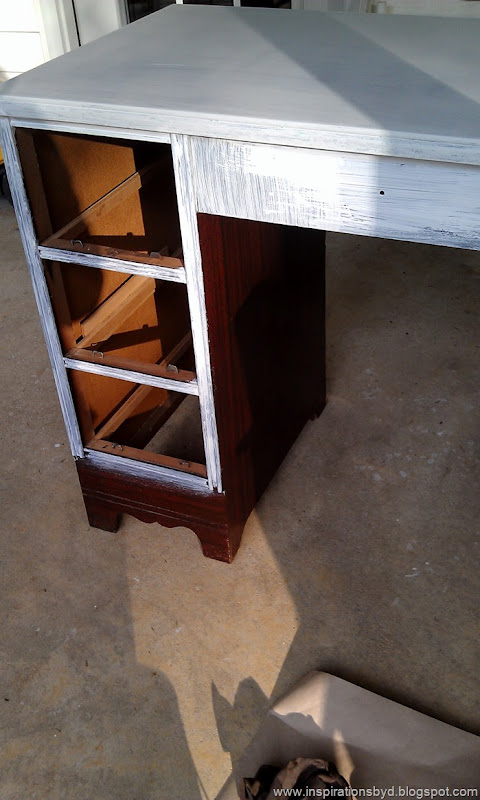
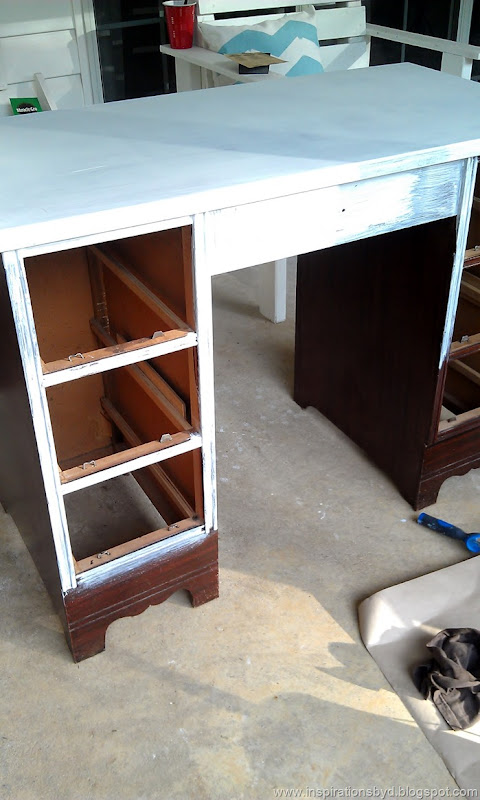
furniture-makeoverToday I've taken the opportunity to share a desk makeover with you.  This little desk is very old and it is not made out of wood, so it was a bit of a challenge only because I could not do what I originally wanted, which was to sand and re-stain it.  After sanding the top and discovering that it was particle board, there was just no turning back, so I decided to paint it.  The hardest part was deciding on a color, I chose a very light grey for this piece, but who knows what color may lay in it's future.

For this project I used the following:
 
  • primer by Sherwin Williams
  • small foam roller
  • small paint brush for small areas
  • paint stick for mixing
  • paint tray
  • rag
  • gloves
  • sand paper block (grade unknown)
  • grey paint

DSC_2081
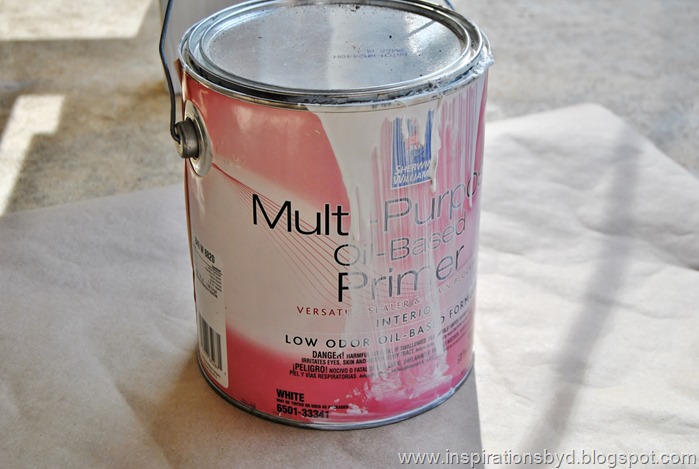
This desk is all laminate, so I used a primer by Sherwin Williams with a low odor formula that I had in storage.  For this project I did not sand before priming because this primer adheres wonderfully.
 
After the primer was dry, I lightly sanded it in order for the paint to go on smoothly.  I did not want to use extra chemicals in my paint and since I used a small roller, I did not have to worry about brush strokes.  I cleaned off the dust with a rag to prep for painting.
DSC_2078IMAG1118IMAG1115
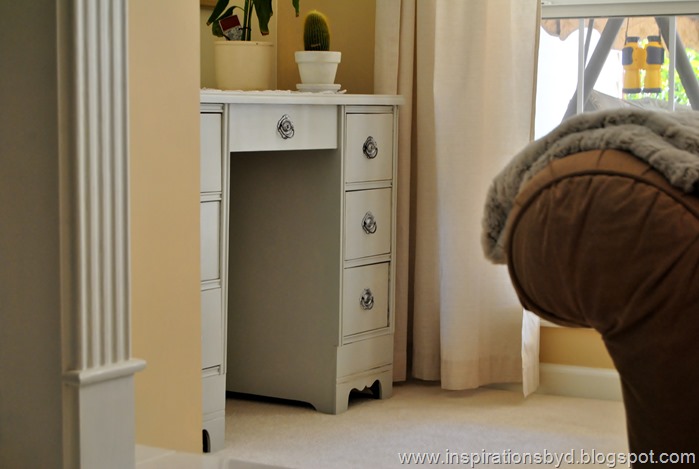
I primed once, sanded lightly and then painted the desk with two coats of a satin finish grey paint, I waited until it dried in between coats.  Below is the final finish. 
I waxed it a little with dark tinted furniture wax to add a bit of an aged look, but nothing major.  It'll do for now until I change my mind and give it another color or look with new hardware. 
IMG_1903
IMG_1887
What do you think?

Picnic Table Makeover

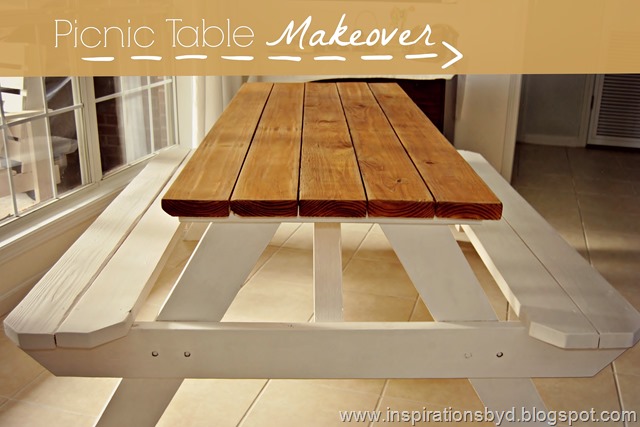
picnic table makeover
Hello friends! Today I decided to finally show a project that is long overdue, but I did promise some folks I'd have it posted on here regardless, so here we go.

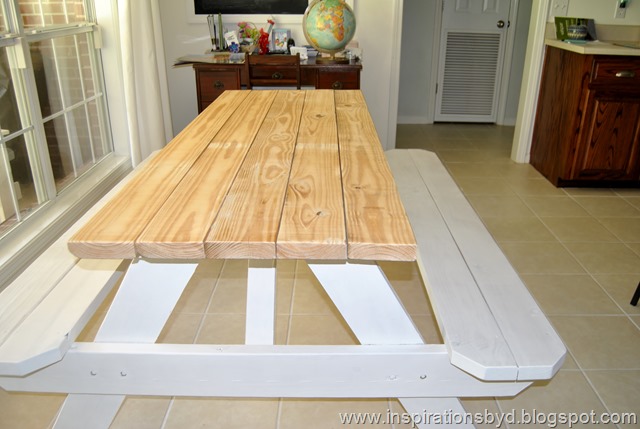
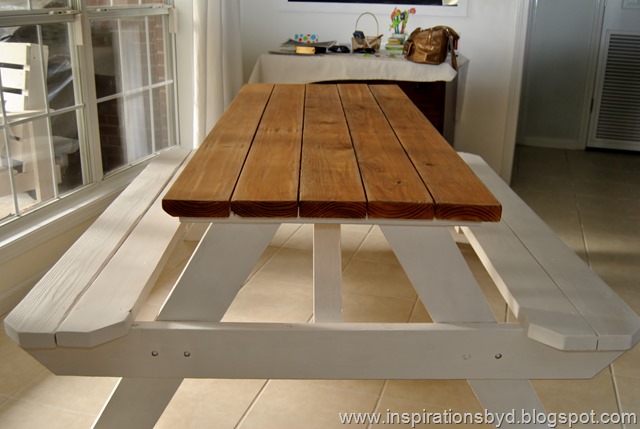
I started out with a plain, store bought, raw wood, picnic table and made it lovely with paint and stain.

inspirations by dpicnic table
It was rough on the surface and along the edges, not comfortable if you are using it for the summer months, so I had it completed sanded down to smooth out the surface.

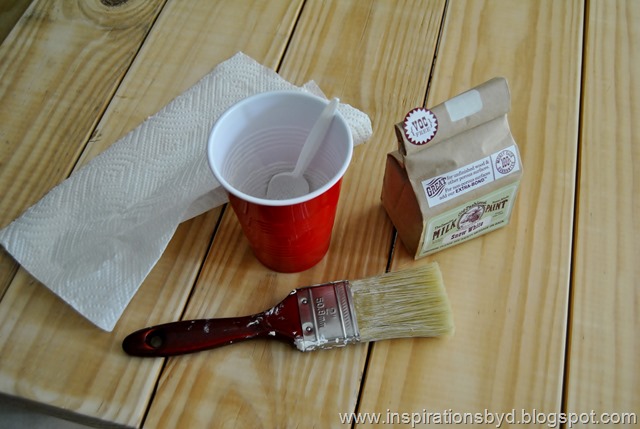
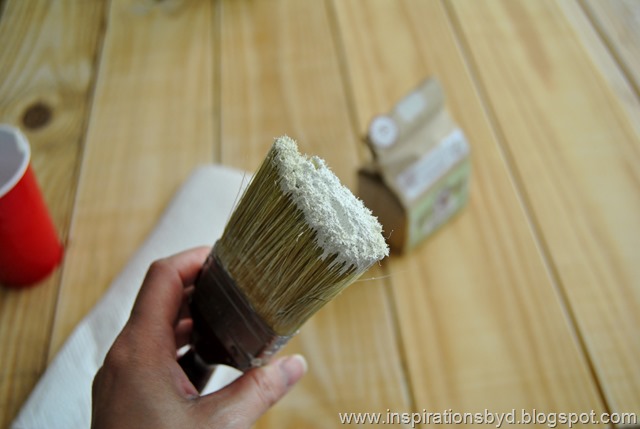
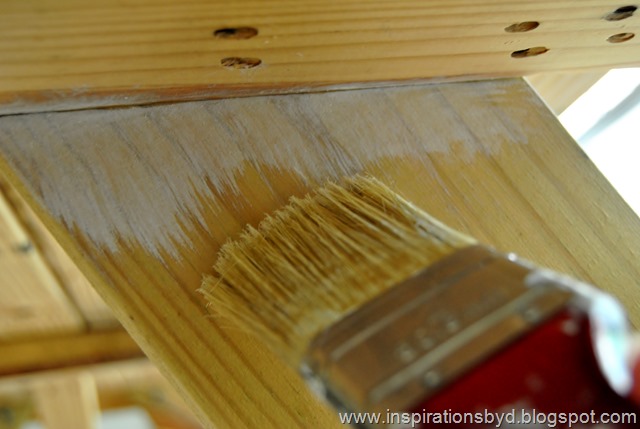
Once everything was nice and smooth, I began the painting process. I started with chalk paint and used about three coats for this porous wood.

inspirations by dinspirations by dinspirations by d
After I painted the bottom white and the paint was completely dry, I used a wax to give it a little sheen and to protect the surface. As you can see below, the top of the table is still raw. I wanted to make that wood look a bit aged, I used the same technique for the wood, as I did with the chalkboard frame.

inspirations by dinspirations by d
@inspirations by D

I loved how it turned out.  I cannot wait to decorate with an Autumn theme.  The picnic table is
currently sitting in my kitchen area until we can get a breakfast table. In the mean time,
this is working out fine.
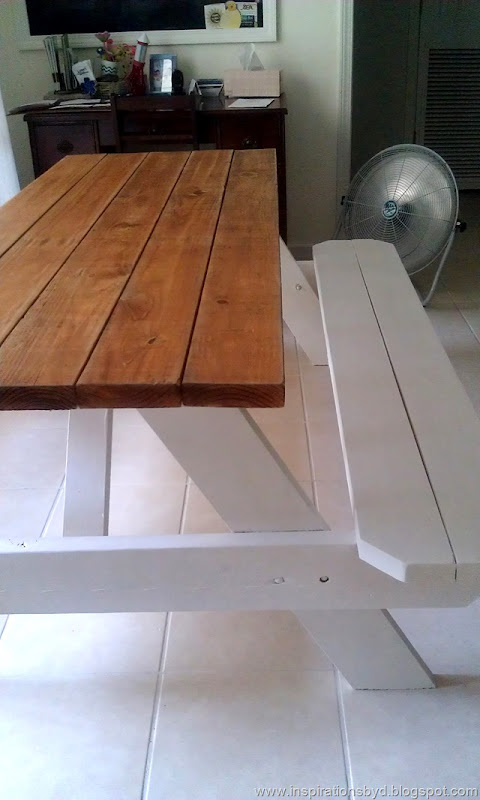
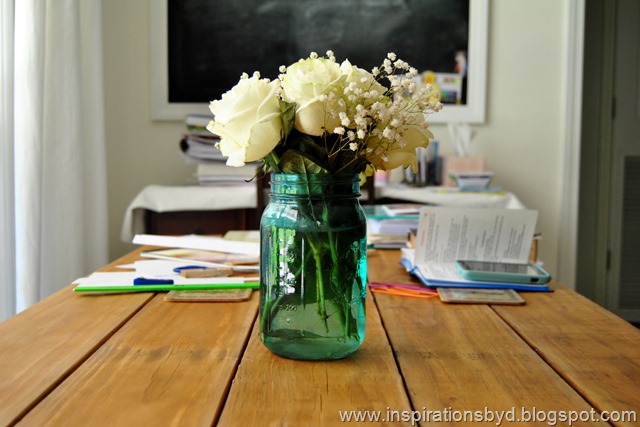
You can see below how the top turned out after the stain and wax.  This is a phone image.

picnic table makeoverpainted picnic table@inspirations by D@inspirations by D

I hope that you enjoyed it and have a great week!


Four Steps to Age New Pine

antiquepine
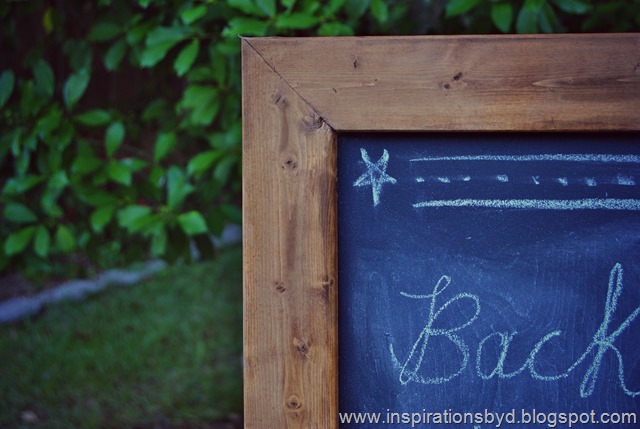
My new favorite item is the skinny chalkboard.  A couple of weeks ago I made a
Skinny Chalkboard, and featured it on this post.  I used a light stain on it,
but I was not completely satisfied with the color.
I wanted the frame to match my antique pine furniture,
so I had to make it look a bit old.  In my local hardware store they did not have
the stain I was looking for.  I decided to use a mix of colors to achieve the shade
I wanted for my frame.

There are several methods that you can use to get an aged wood look,
but that depends on what you are aiming for. I knew what I wanted and I went for it.

In order to remove the previous stain, I had the frame sanded.
After the frame had been sanded, I cleaned up any dust left behind.
The pine was back to it's original bare state.  To achieve the old look I
wanted, I did the following four steps:

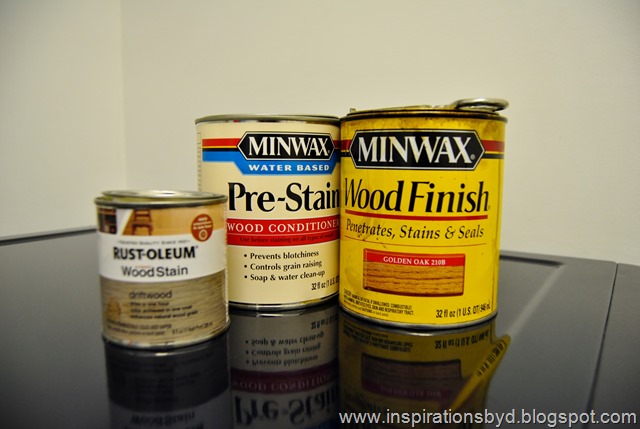
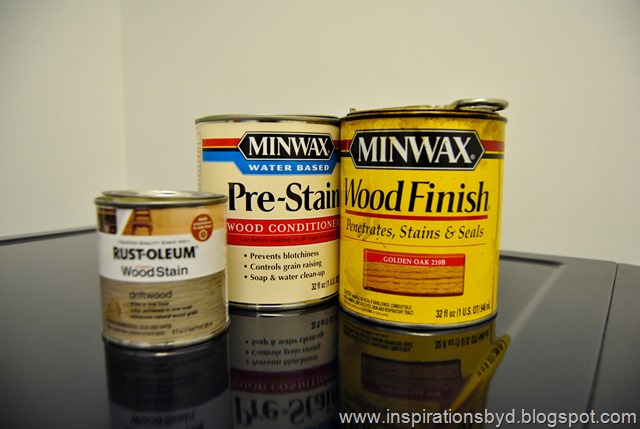
Step 1. I used a pre-stain to condition the wood.  This helps prevent blotching. Follow instructions on the can.

Step 2. I used a driftwood stain next.  The driftwood stain is almost grey in color, so I rubbed it thin on the frame and wiped the excess off.

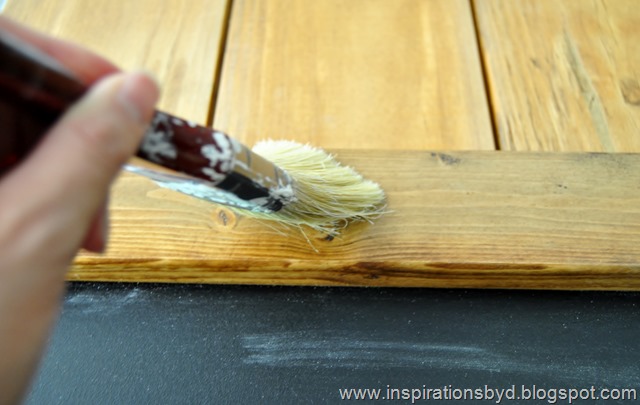
Step 3. Next, I gave it a semi-thick coat of the golden oak stain and let it dry completely.

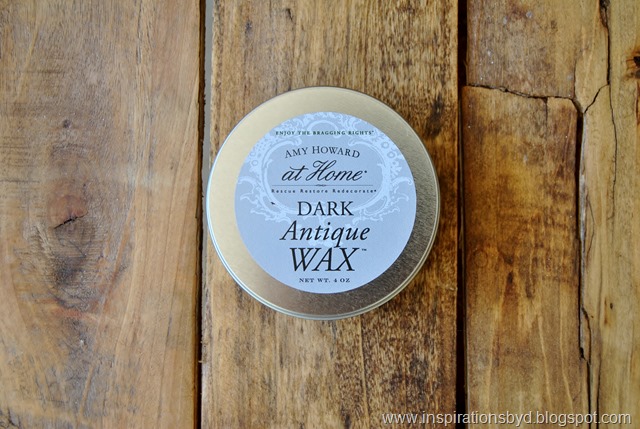
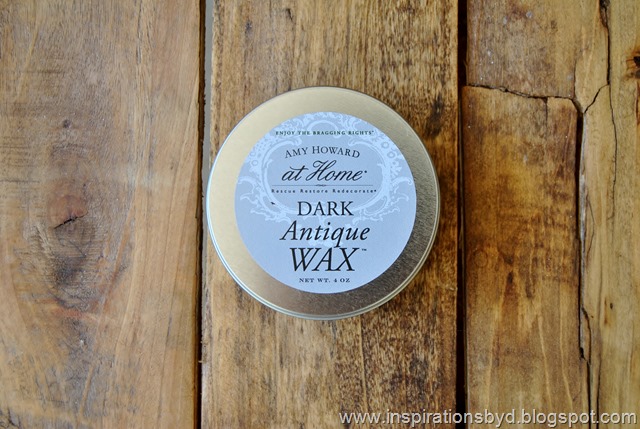
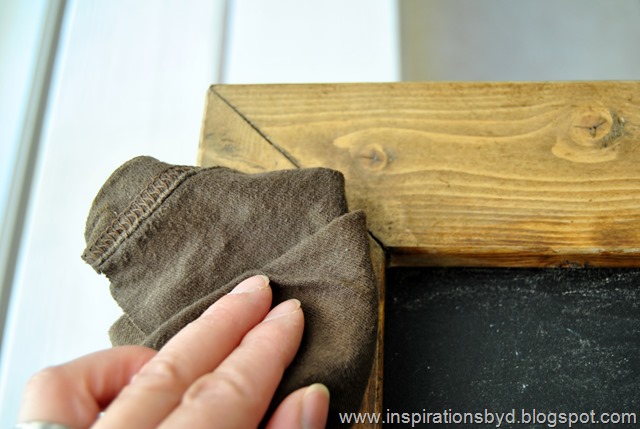
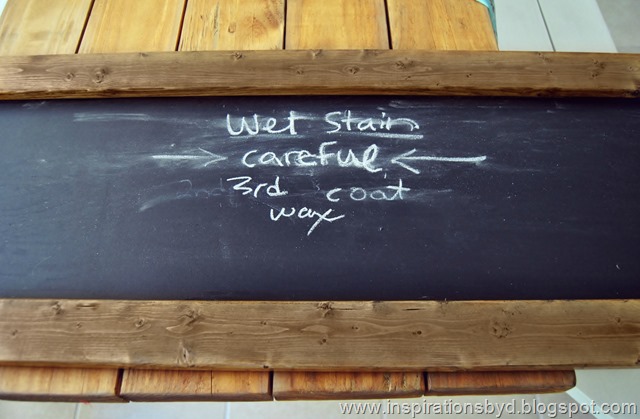
Step 4. When the stain was completely dry, I rubbed on a dark wax. I waxed it on and waxed off excess wax leaving the wood looking darker and aged.

I love the new color on the frame, it matches the furniture perfectly.
Thank you for joining me today and hope that you were inspired.
www.inspirationsbyd.blogspot.com
www.inspirationsbyd.blogspot.comwww.inspirationsbyd.blogspot.comwww.inspirationsbyd.blogspot.comwww.inspirationsbyd.blogspot.comwww.inspirationsbyd.blogspot.comwww.inspirationsbyd.blogspot.comwww.inspirationsbyd.blogspot.com
For more ideas visit the Project Gallery tab and Inspirations tab.


Little Projects

flowers
After the busy month of places to be, things to do, people to see, it finally slowed down this summer in order for me to work on little projects.

My son and I re-vamped this clay flower pot for his cactus plant.  We used acrylic craft paint to paint the inside blue and the outside in white, giving it a two toned appearance.

After the paint dried, he applied glow in the dark paint on the outside surface. When the lights go out, it glows and for him that is an awesome effect. I have to admit, it really is!  I couldn't get a good photo in the dark to show you, but you get the idea.

glow in the dark flowerpot
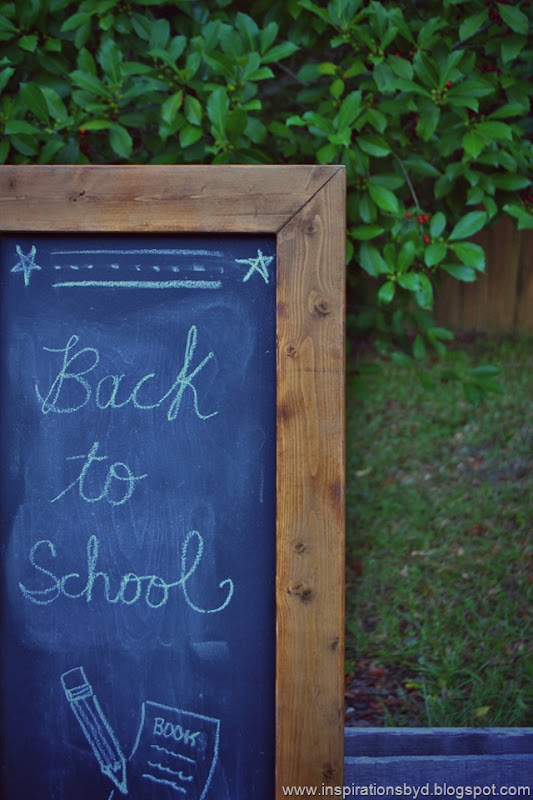
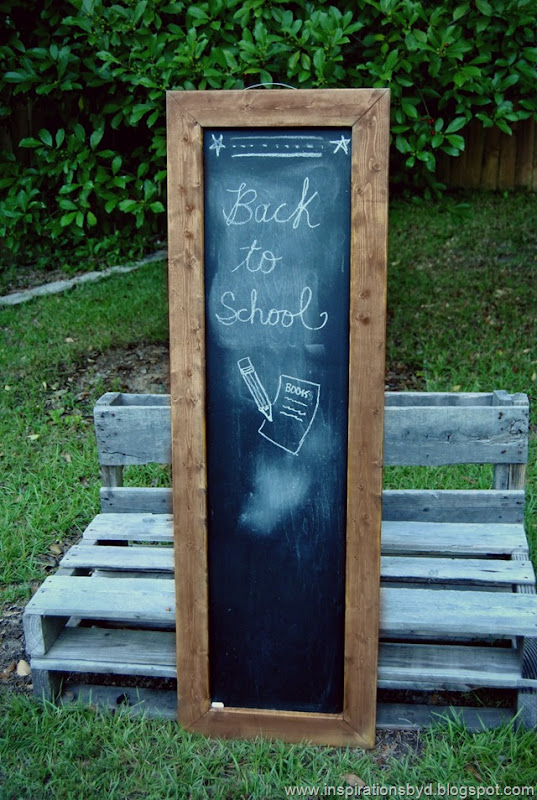
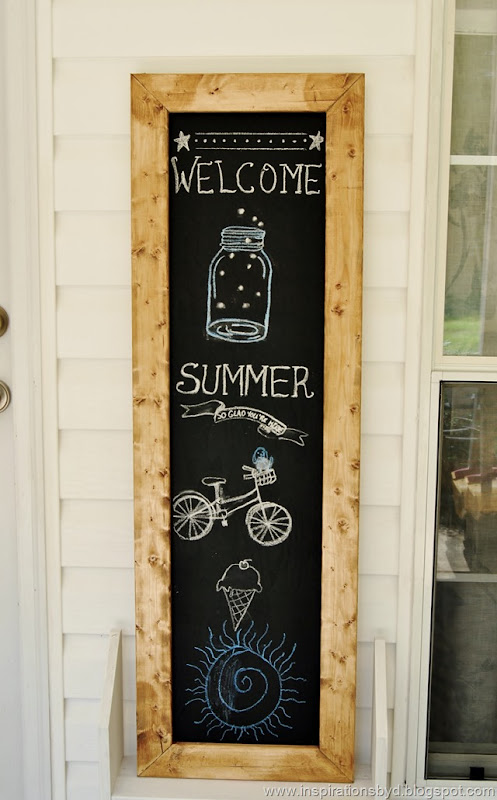
I also finished another chalkboard project similar to the large chalkboard I made a few months back on this post and since then, have painted the frame white.  I have wanted a narrow chalkboard forever and with an extra piece of wood in the garage, I finally made one with my hub's help of course.

We used a flat wood board measuring about 14 x 47.5 inches.  I painted the board with chalkboard paint.

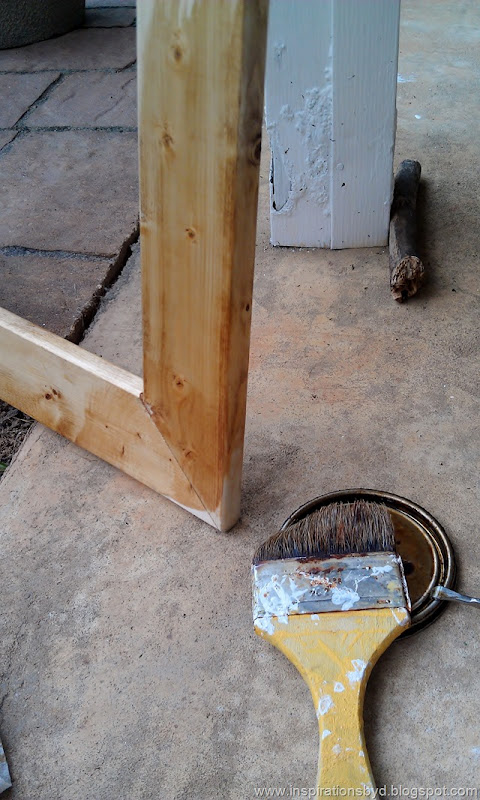
Mr.M cut the angles on the frame and nailed them together.  I then stained the frame and when it was dried, nailed it to the black board surface. The frame measures 15 x 48 inches.

Now all I have to do is make the frame look aged, I was inspired by this chalkboard.  I should have done that before mounting it, but oh well.
I will make it look like antique wood later on & will post about it, so stay tuned.

diy chalkboard
staining wood
diy chalkboard
We added a little art on the board to add a summer feel to our patio.  This will be a 
great little board for seasons and holidays.  

Have you been enjoying your summer?  
Happy Crafting!


Create an Outdoor Space

palletpatio
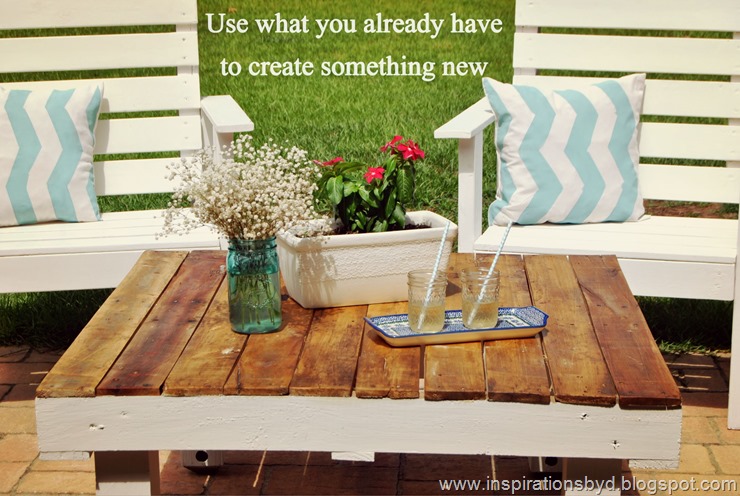
Create your own outdoor space with what you already have at home!  Do you have extra wood or a pallet lying around?  Perhaps you have an old table you want to paint over?  Do you have extra fabric or paint in your closet?

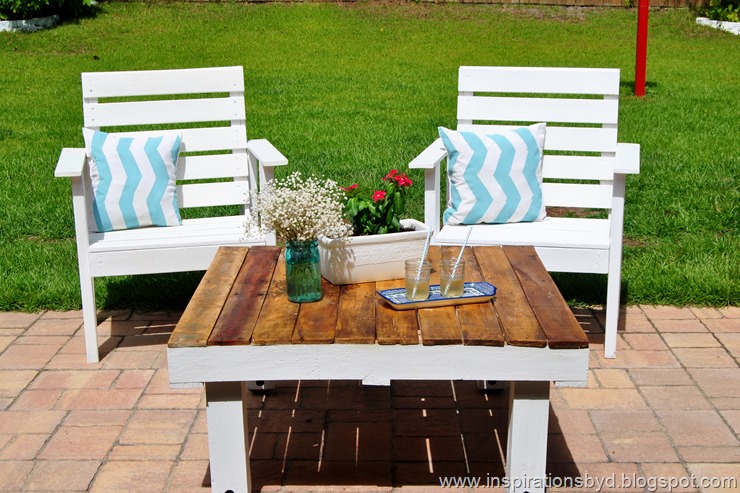
It doesn't take much to make an outdoor space inviting.  You know what the Nester says, it doesn't have to be perfect to be beautiful.  At the inspiration house, we like to keep things simple. This handmade patio was created with extra items that was sitting around collecting dust in our garage and closet.

With our finds, we handmade and revamped what we had on hand.  The pallet chairs were a gift from a friend which we painted white and our table was made by using a pallet, you can view the post here. Please excuse the table's crooked legs, that's my fault for dragging the table against the floor, but it will get fixed soon. The toss pillows were handmade and hand painted, you may view the tutorial on this post and the flower pot is a makeover that I did several months ago.

The most difficult task was creating this patio area by installing the pavers.  That took a lot of work and elbow grease, those pavers are heavy, but the patio is coming along slowly.  The grass is finally growing on one side of the pavers, we will also place some plants around to add texture and color.

Making something cool out of scraps is awesome and hope that you were inspired to take anything you have and turn it to something useful even an unused space.  How will you create your outdoor space?
pallettable
pallet coffee table

Linked to:

The Bewitchin Kitchen

Outdoor Pallet Table

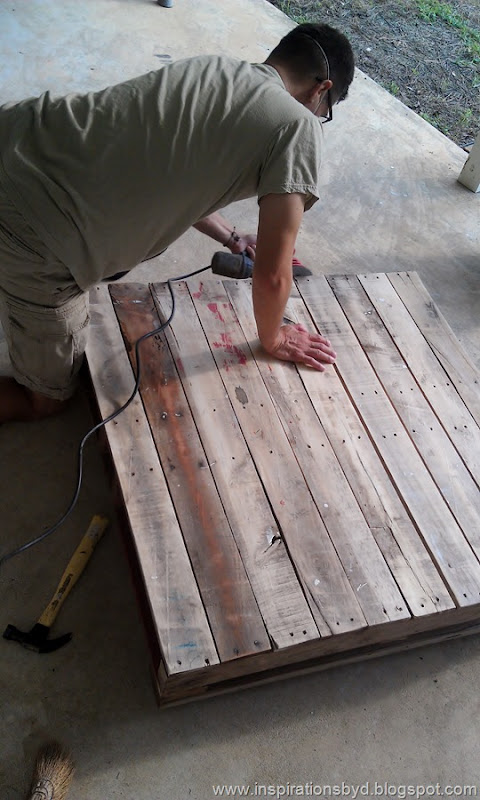
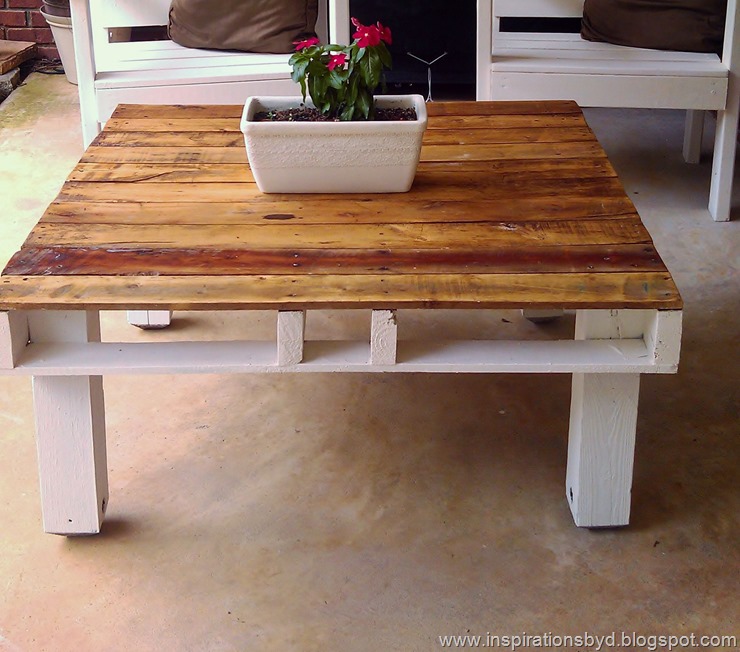
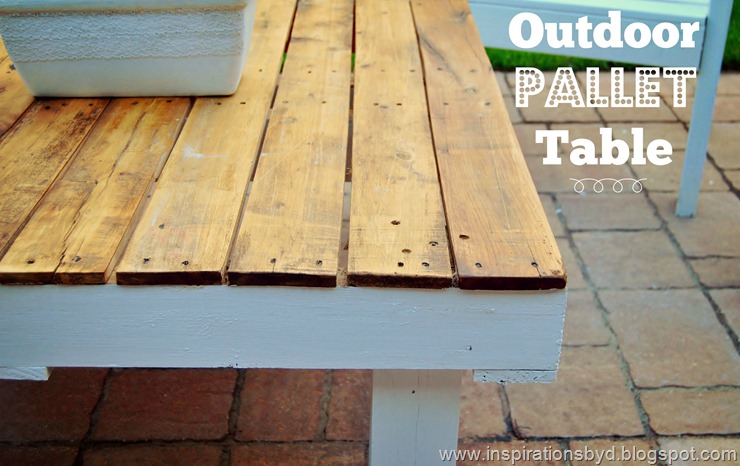
pallettablescoverPallets are very popular right now for creating practically anything you like, from wall covers, furniture and accessories. They work well for a rustic look in furniture or incorporated in a particular design. Pallets may be purchased or if you are as lucky as we were, you may even get them free.  We have had this pallet forever and it has seen it's fair share of paint drips, crayon scribble, dirt and everything else.  It started as a back drop for some of my blog photos, but over time, it just got plain ugly because of lack of care. We have used pallets in the past; when we created our mudroom space, we used half of a pallet to give our seat height by placing under the bench and we also made pallet night stands on here.

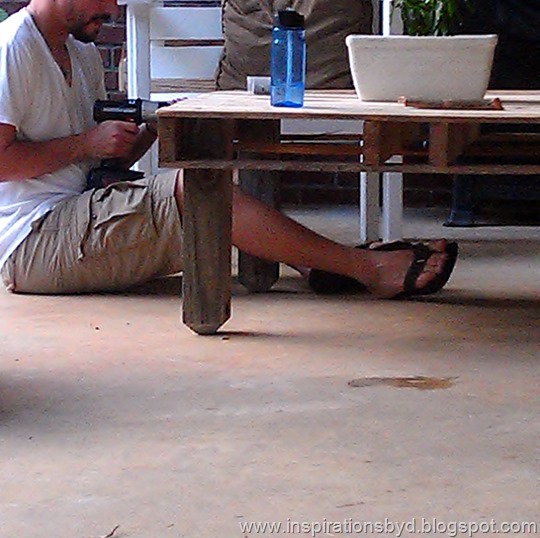
I decided it was time to fix our pallet and create something useful with it.  I asked Mr. M to give me the sander and instead he sanded the pallet completely.  It was super smooth and all the marks were pretty much gone. He added legs to it with some extra wood that was in the garage.

The legs are of a different kind of wood, so it was not going to stain the same, that's when I decided to paint it white and to stain the top.

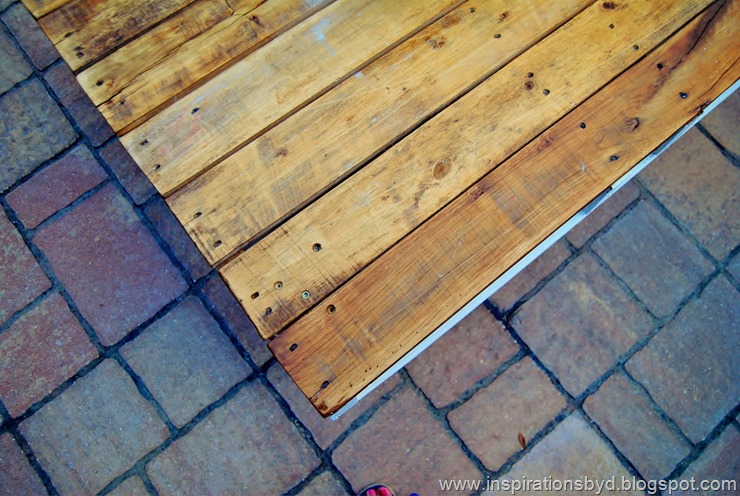
After the paint and stain, I waxed it to give it a nice polish. 

For this project we used:

1 pallet
4 x 4 for legs (left over in garage
electric sander
white paint
wood stain
paint brush
sponge
nails or screws
drill or hammer
wood furniture wax

Got to love free things right?!  For more ideas on using pallets visit my pallet furniture board on Pinterest and follow to get the latest ideas.

IMAG0531IMAG0532pallet table inspirationsbyd.blogspot.compalletoutdoortablepallet tablepallet We love our table and are enjoying it. View more photos of this table on this link.  Thank you for stopping by and checking out our pallet table.  If you have any questions feel free to leave a comment.


Pin It button on image hover